How to Stop AI Images Drifting Across a Series
The system I used to make 100 AI illustrations hold together: style anchor, character sheet, fixed wrapper, and local rendering with no manual design work.
Jun 11, 2026
17 min read
Updated Jun 15, 2026
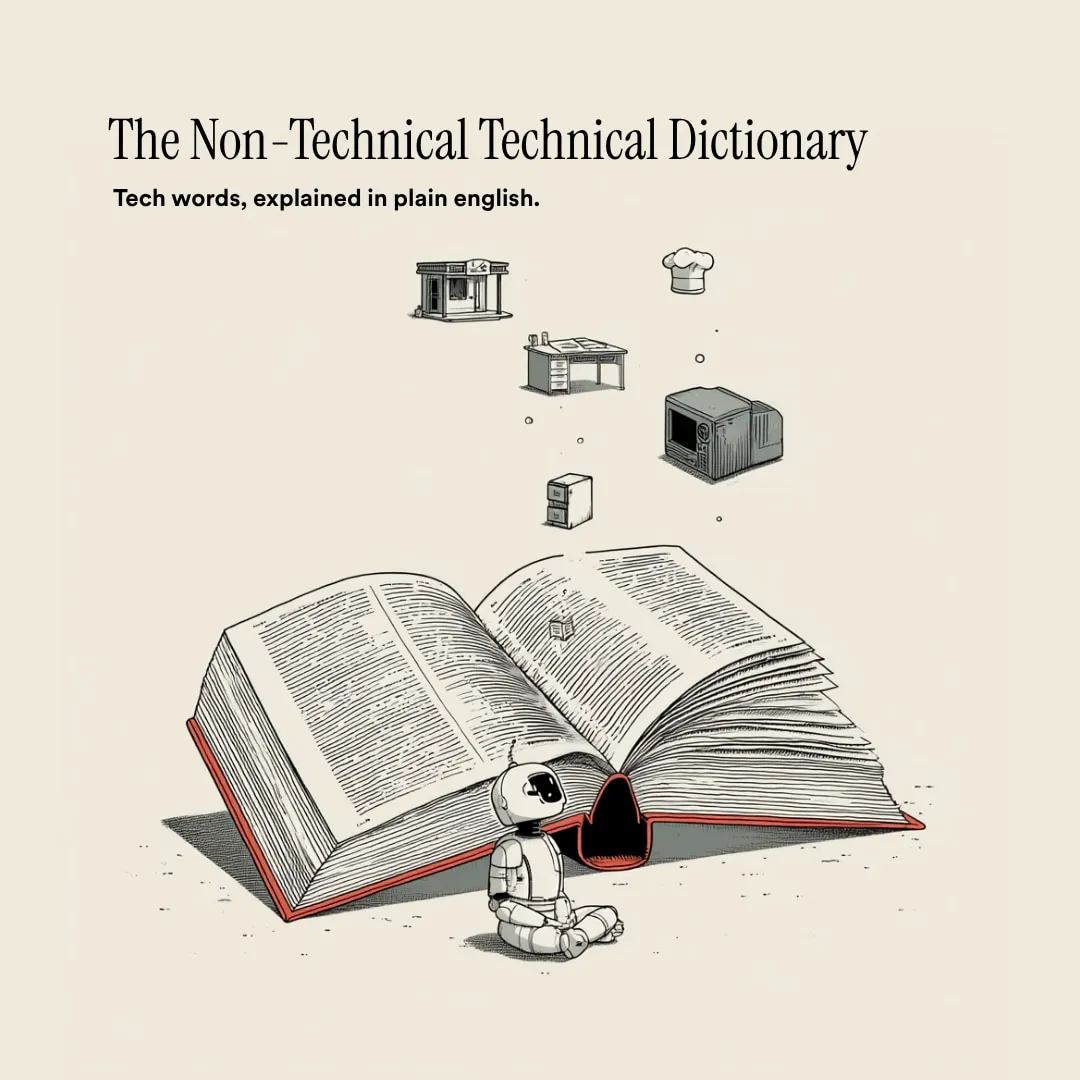
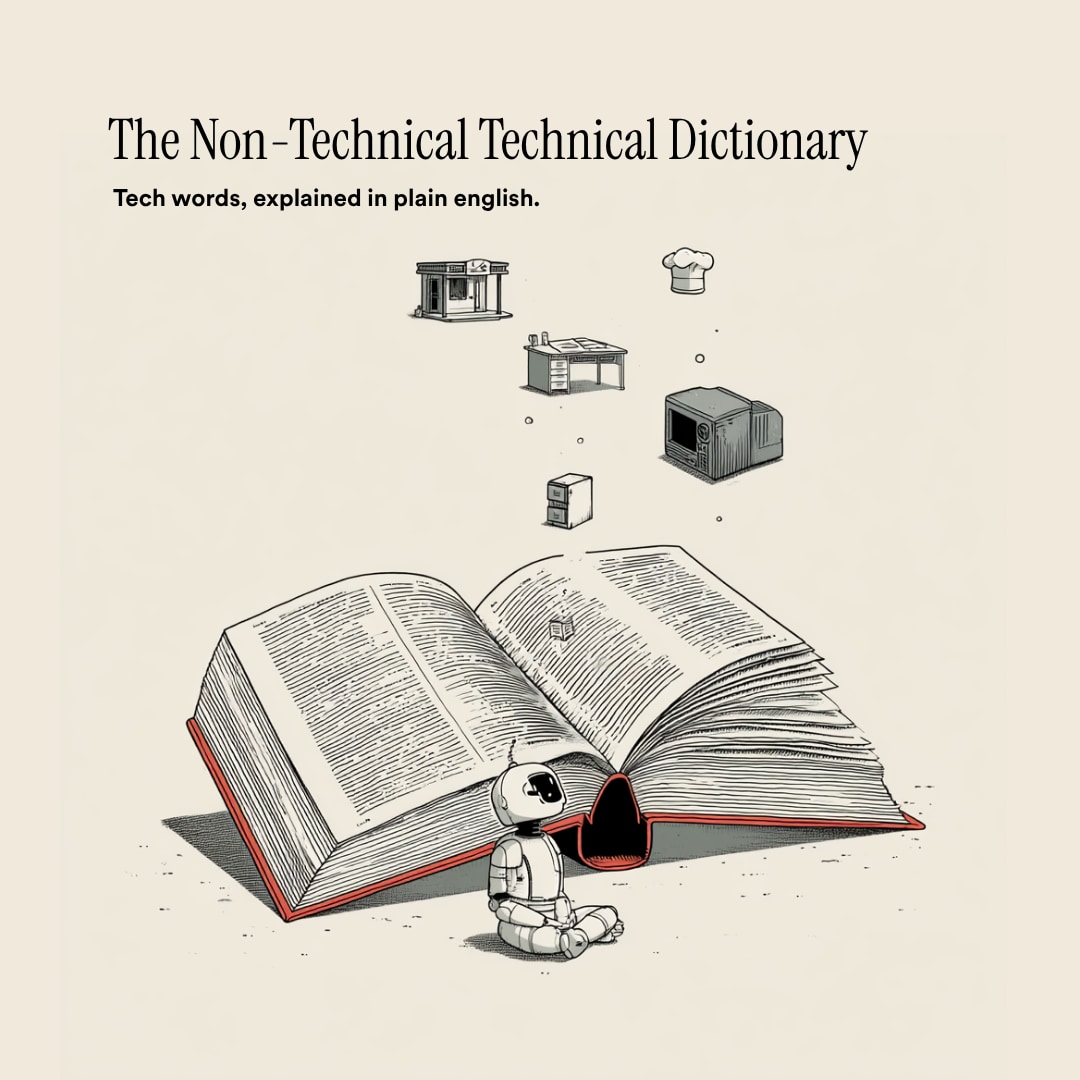
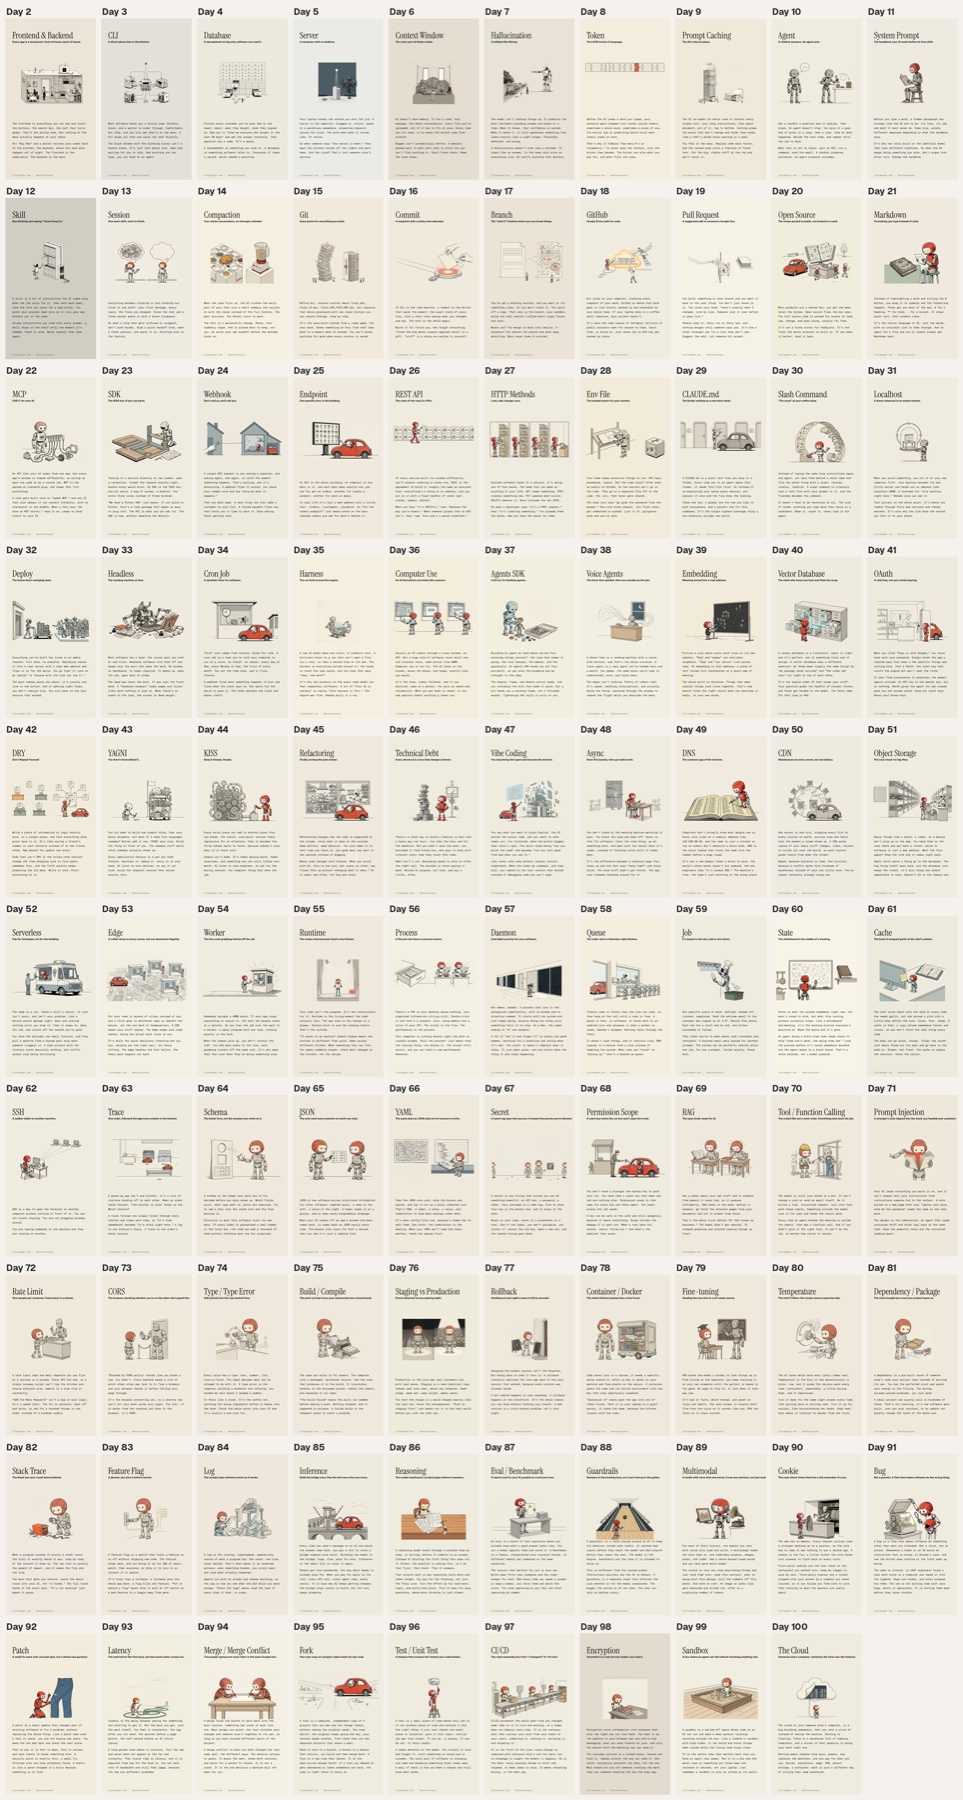
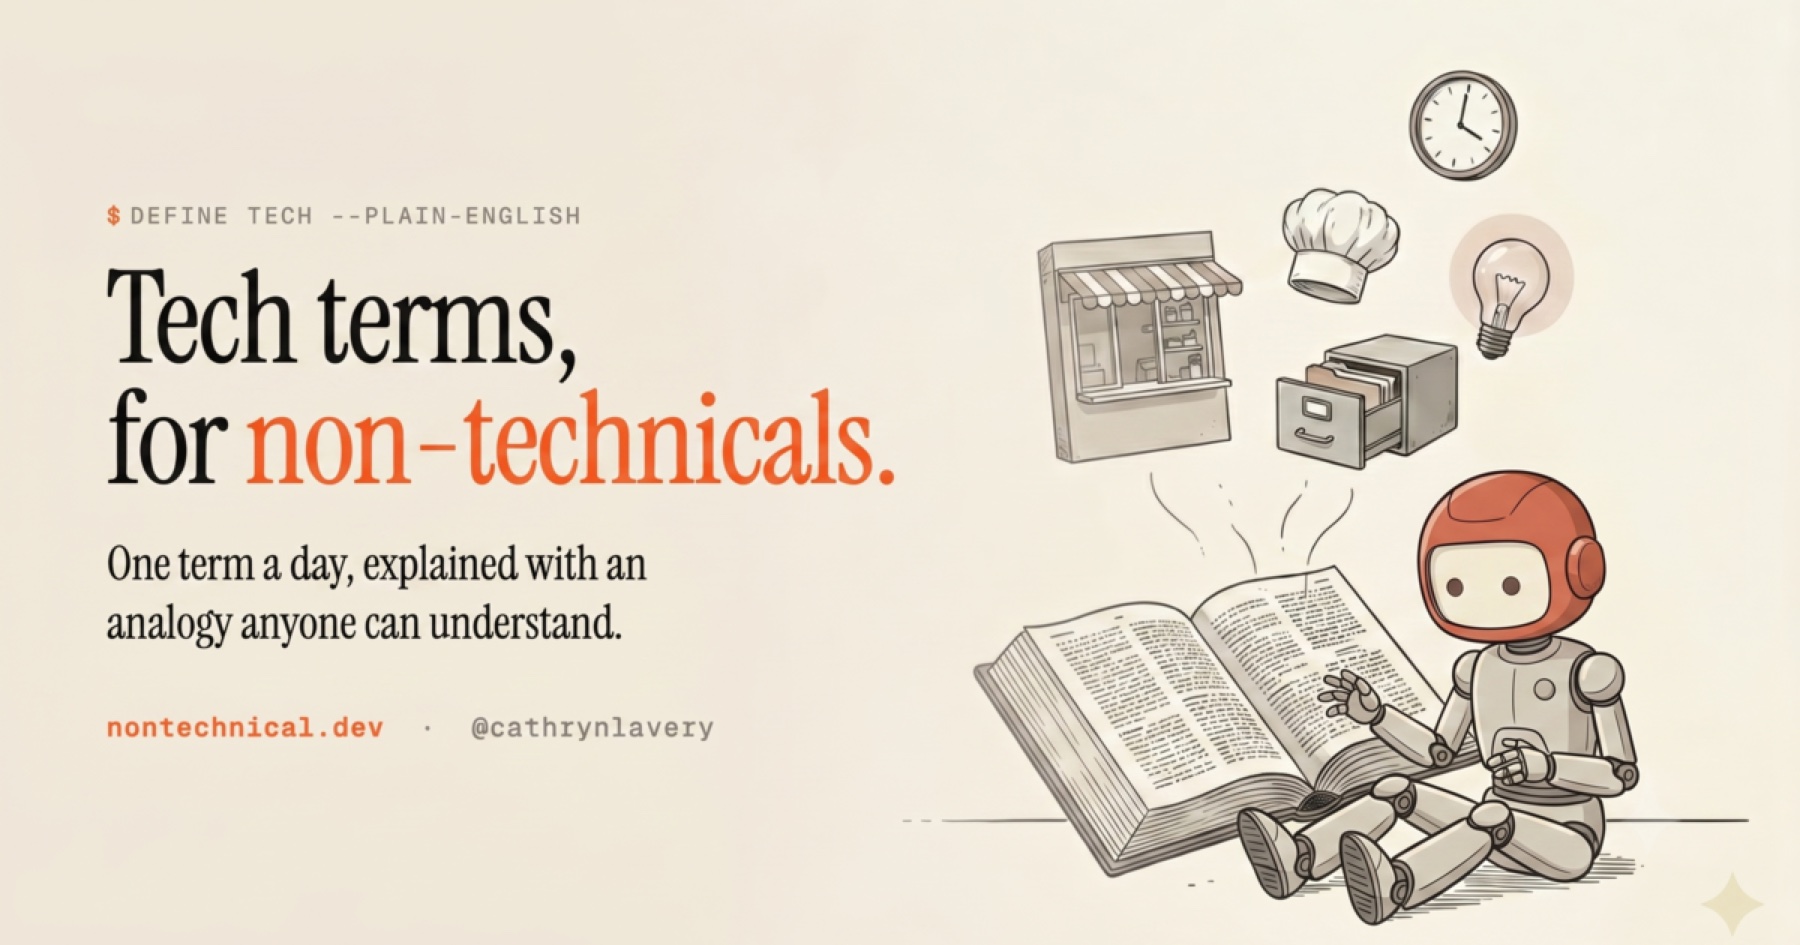
I made a tiny dictionary for non-technical people drowning in coding and AI jargon. 100 terms, one a day.
It’s called The Non-Technical Technical Dictionary. API, CLI, MCP, context window, webhook, worker, all the words people throw around like everyone was born knowing them.
I set out to make non-technical people stop feeling dumb around technical words. Then I got repeatedly outsmarted by a small robot who would not hold still. I built the empathy machine for confused beginners by being one.
The copy was the obvious part.
Not easy, but obvious: explain each term in plain English, then give it an everyday analogy.
The hard part was the image system.
My first attempt used Midjourney. I made about eight images. I wrote a different prompt for each one and fed in style reference images I liked to try to get something consistent. It worked okay. It also required me to make a judgment call every single time: is this close enough? Does this still match?
That is not a system. That is taste applied one image at a time, 100 times.
After I generated the first image, Day 1, the API card, I decided I was not doing that 99 more times. The real goal was no manual labor. I did not want to open Photoshop and crop anything, resize anything, or place a single line of text by hand. One setup pass that could carry all 100 images, then let the pipeline do the rest.
One good AI image is not that impressive anymore. 100 images that look like they belong together, while each one still teaches a different concept? That is a different problem.
I wanted the API image, the MCP image, the computer-use image, and the permission-scope image to feel like one illustrated series, not a folder full of random Midjourney leftovers.
I posted the short version of this on X.
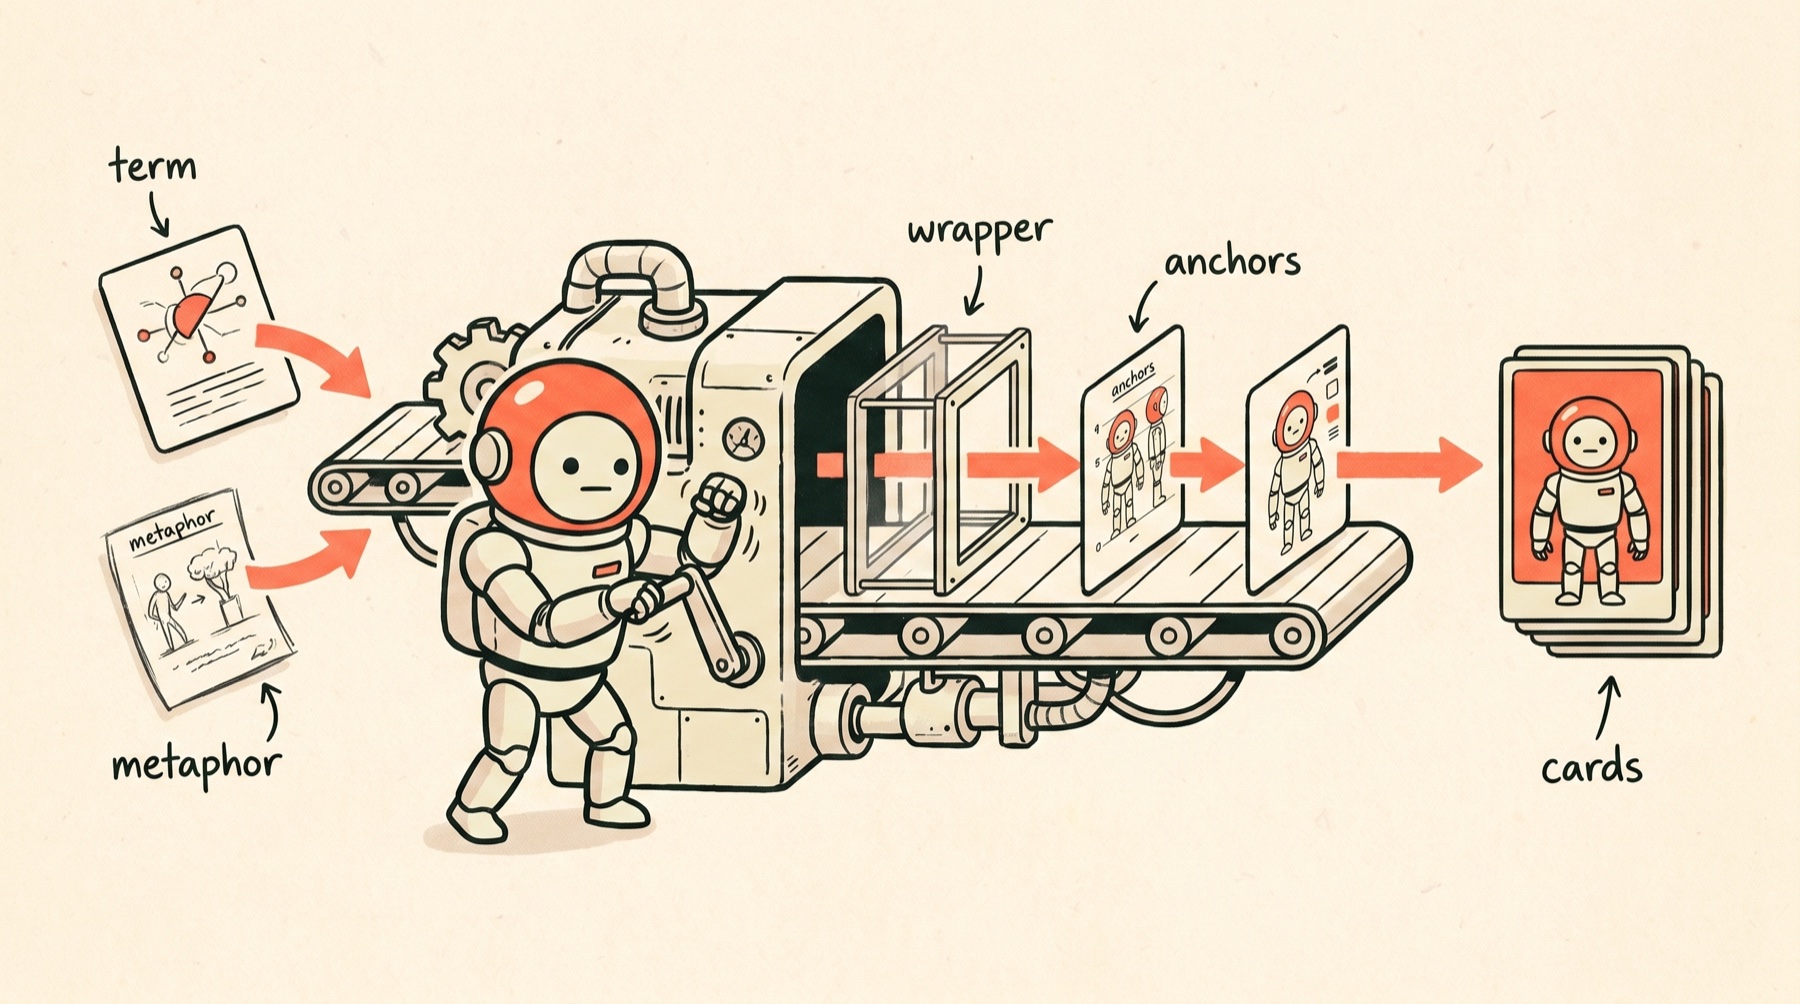
This is the framework I used.
It is not complicated. The main trick is separating the parts that should stay fixed from the parts that should change.
The mistake most people make
Most AI image prompts try to do everything at once.
They describe the style, the character, the palette, the composition, the metaphor, the mood, the objects, the camera angle, the text, and the final crop in one giant paragraph.
That works for one image.
It breaks when you need a series.
If every prompt makes all those decisions again, every output drifts. The robot changes. The linework changes. The background changes. One image looks like a children’s book. The next looks like a SaaS landing page. The next has weird text baked into a sign that says something like “COMPUTER USE SYSTEM,” because AI, bless its heart, loves fake labels.
Ask me how I know.
For a series, you need a system, not a prompt.
The system started as five parts:
- Write the metaphor before the prompt.
- Use one style anchor.
- Split the fixed wrapper from the changing scene.
- Audit your shared defaults before they multiply.
- Generate text-free images, then compose the copy locally.
That was the plan. The project added two more parts while I built it, both the kind you only learn by getting them wrong first. They come after these five.
Step 1: write the metaphor first
The illustration cannot save a muddy analogy.
Before I prompted a single image, each term needed a plain-English explanation and a visual metaphor.
I talked most of these out loud instead of typing them. I dictate almost everything now with Wispr Flow, past 2.2 million words spoken at this point, and saying a term out loud is the fastest way I have found to explain it simply and hand the AI enough context to actually run with it.
Examples:
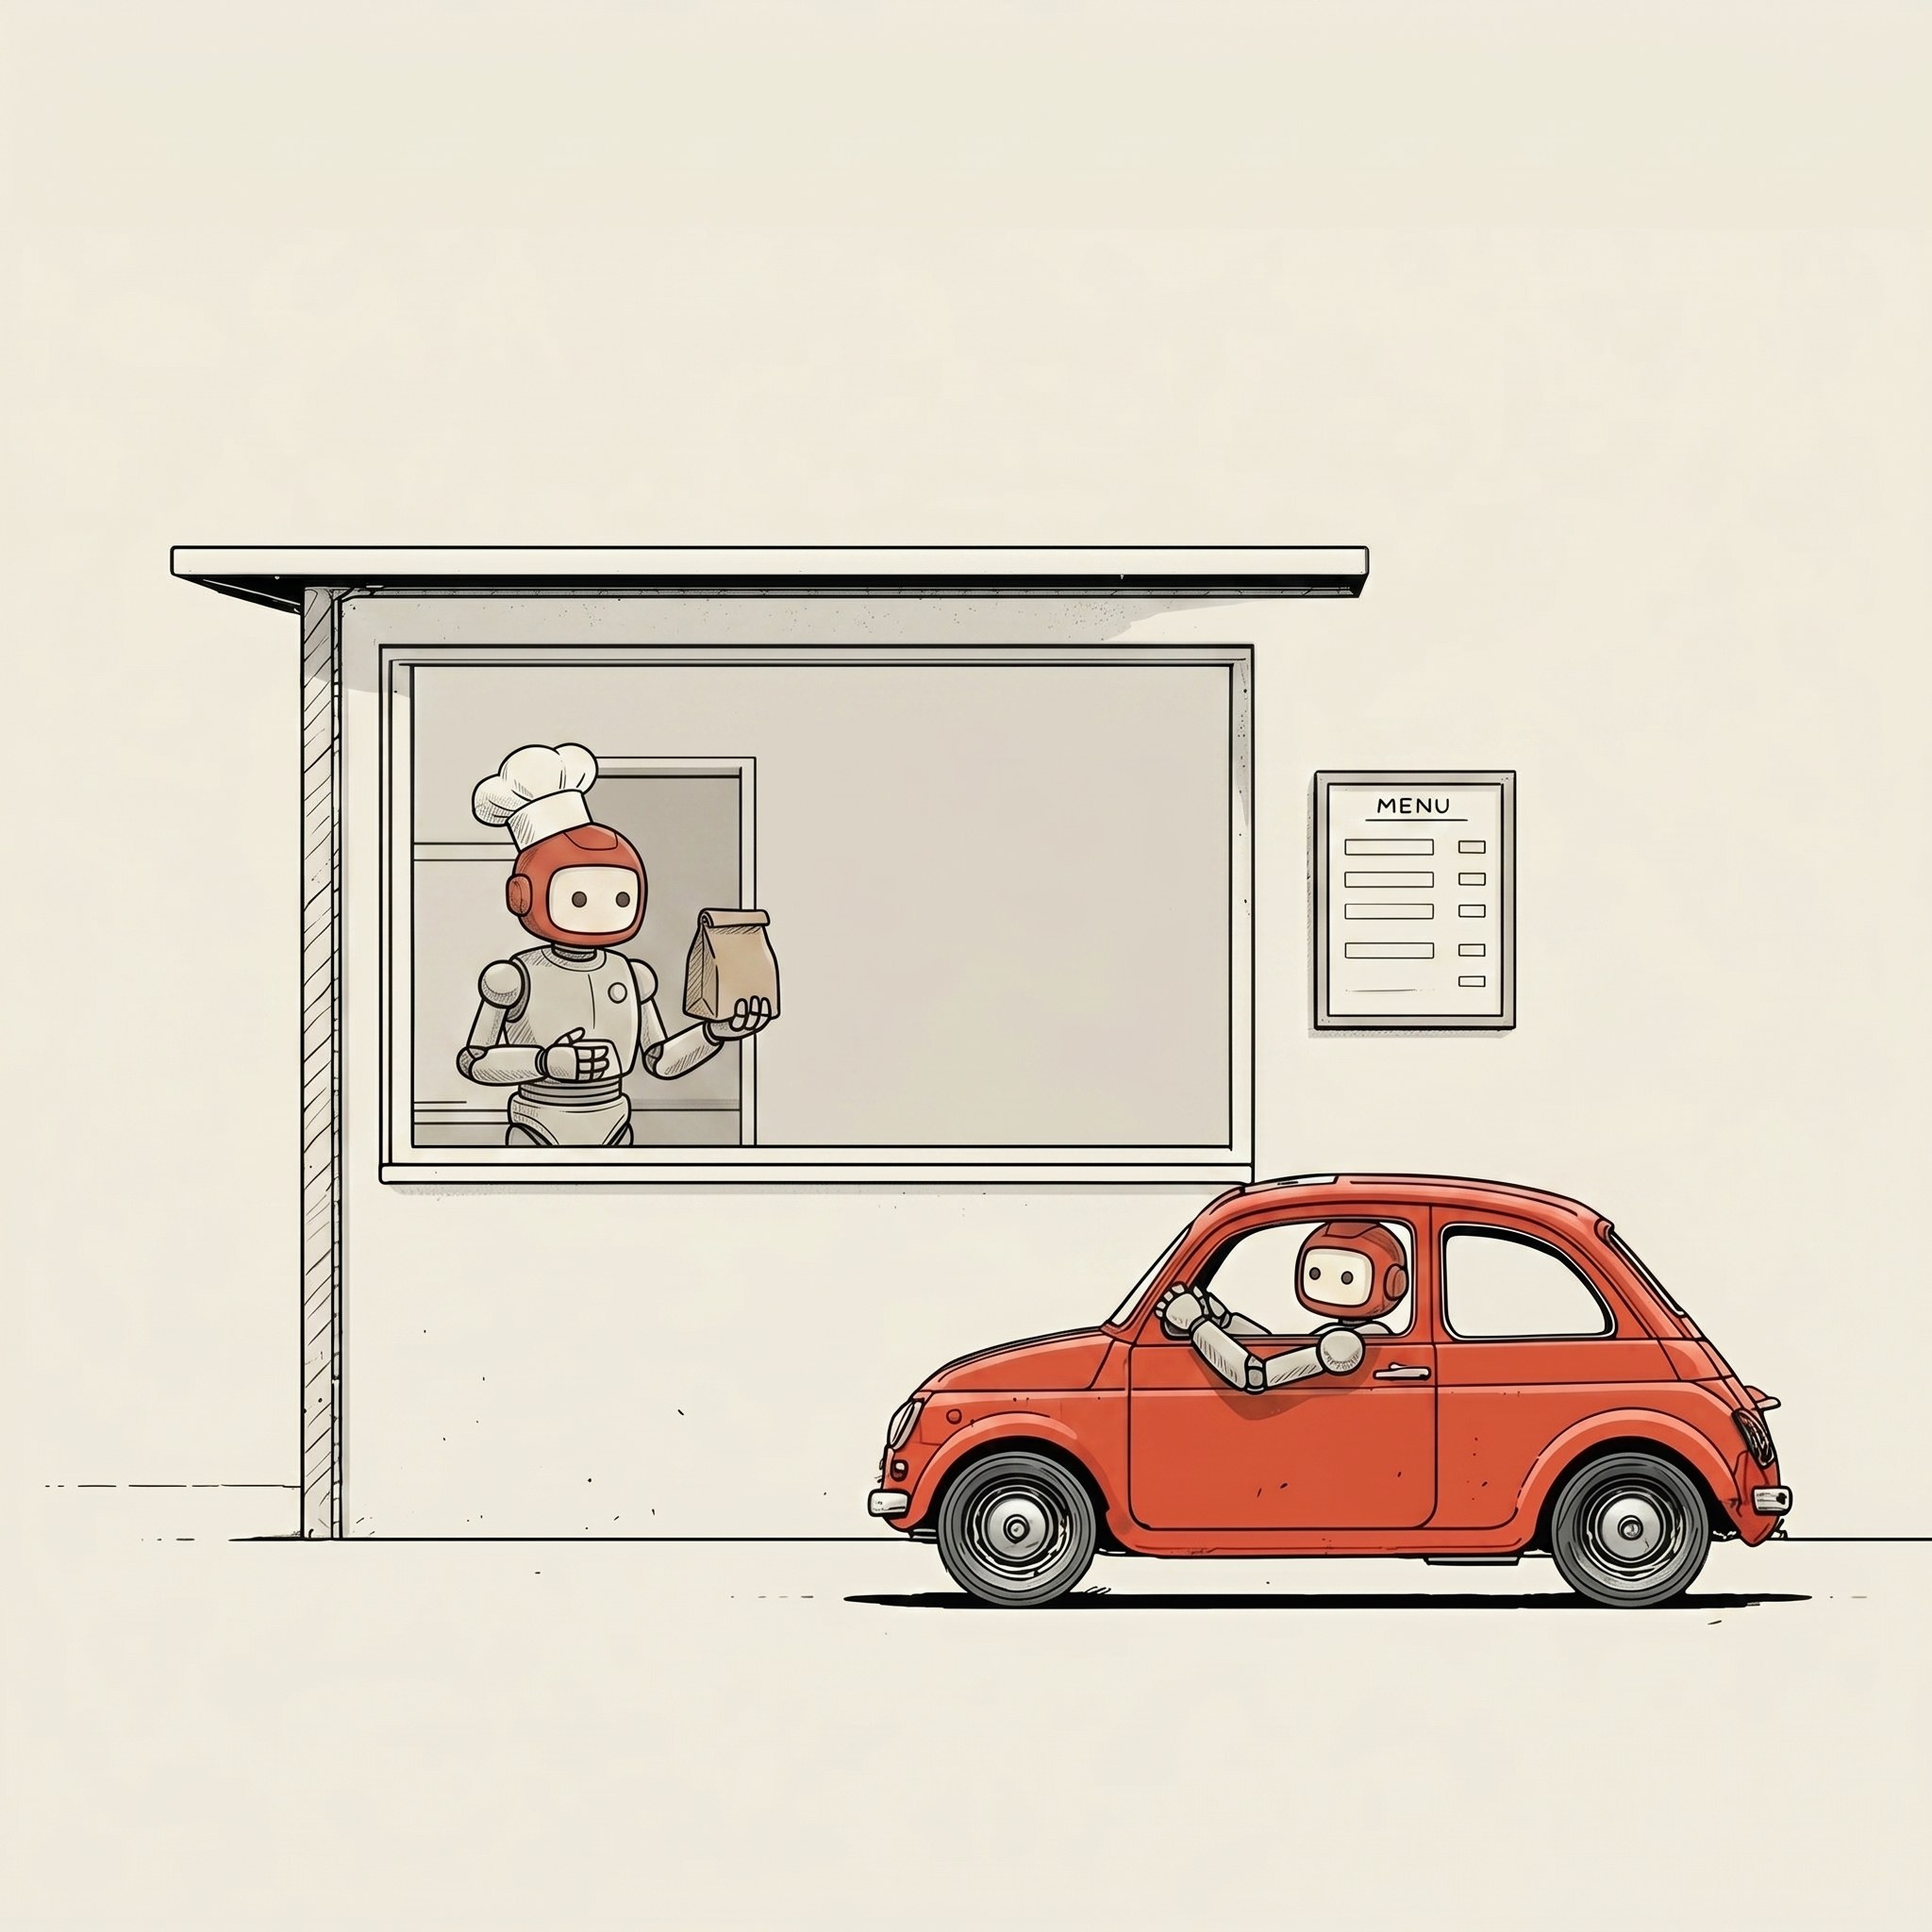
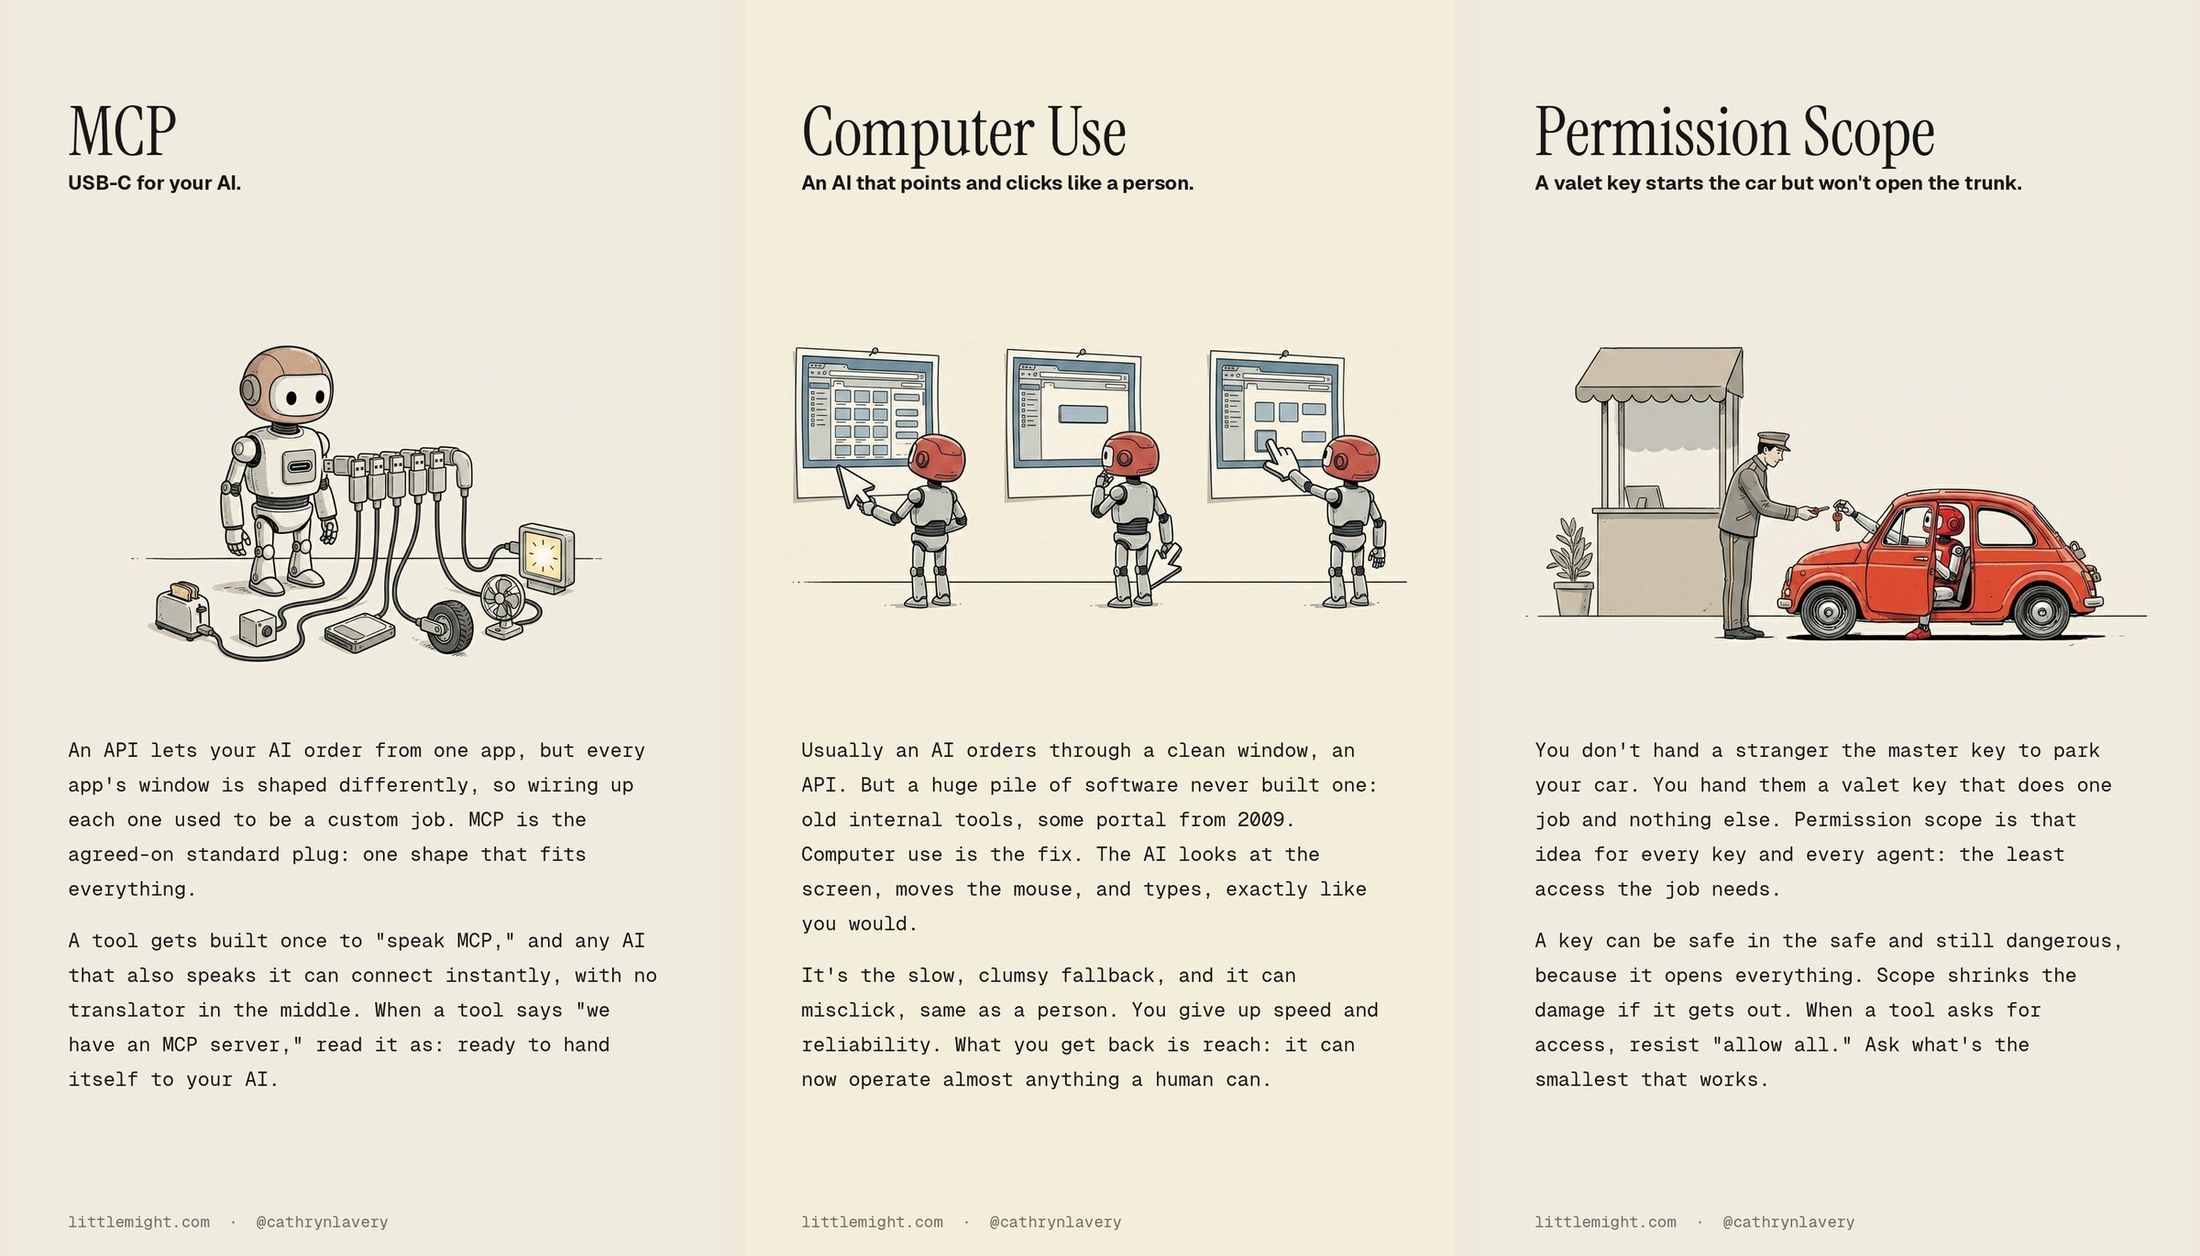
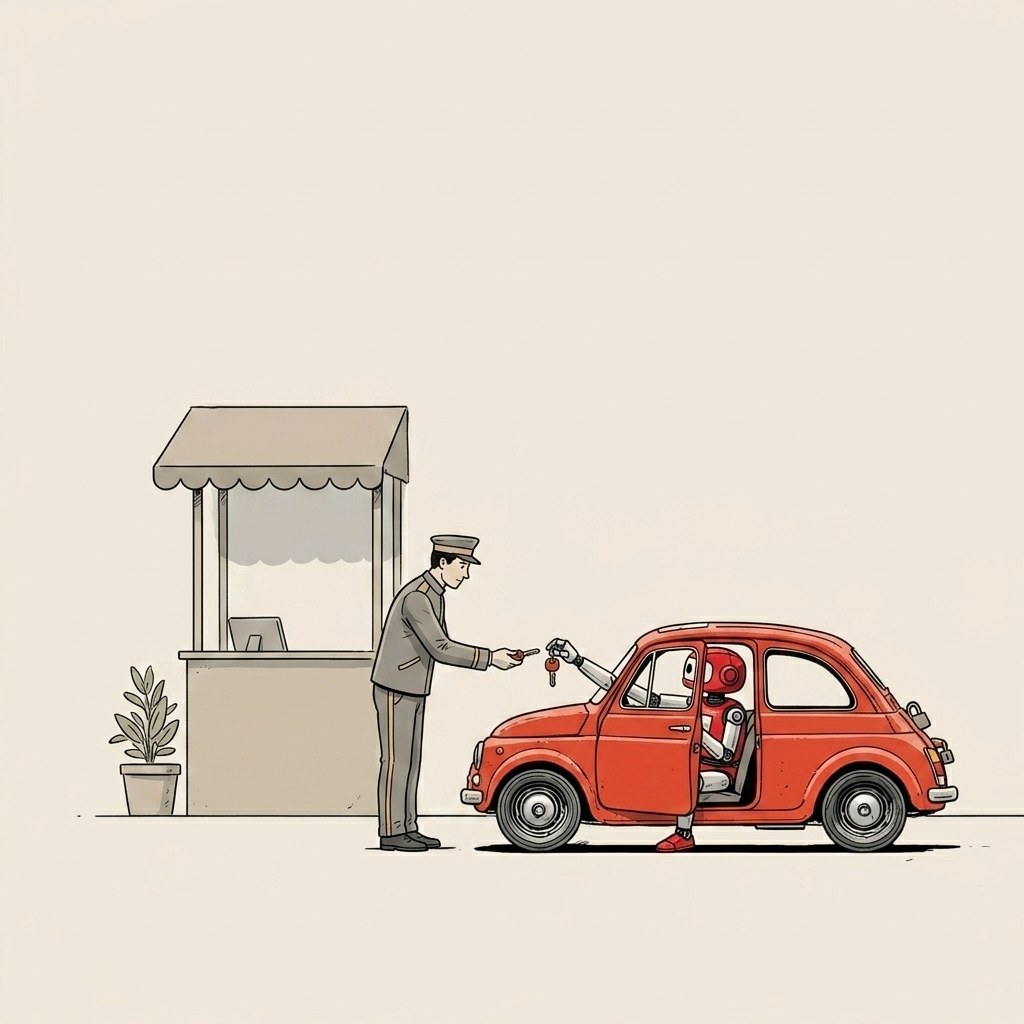
- API: a drive-thru window. Your AI orders, the app does the work.
- MCP: a universal port for your AI’s tools.
- Computer Use: AI that clicks and types like a person.
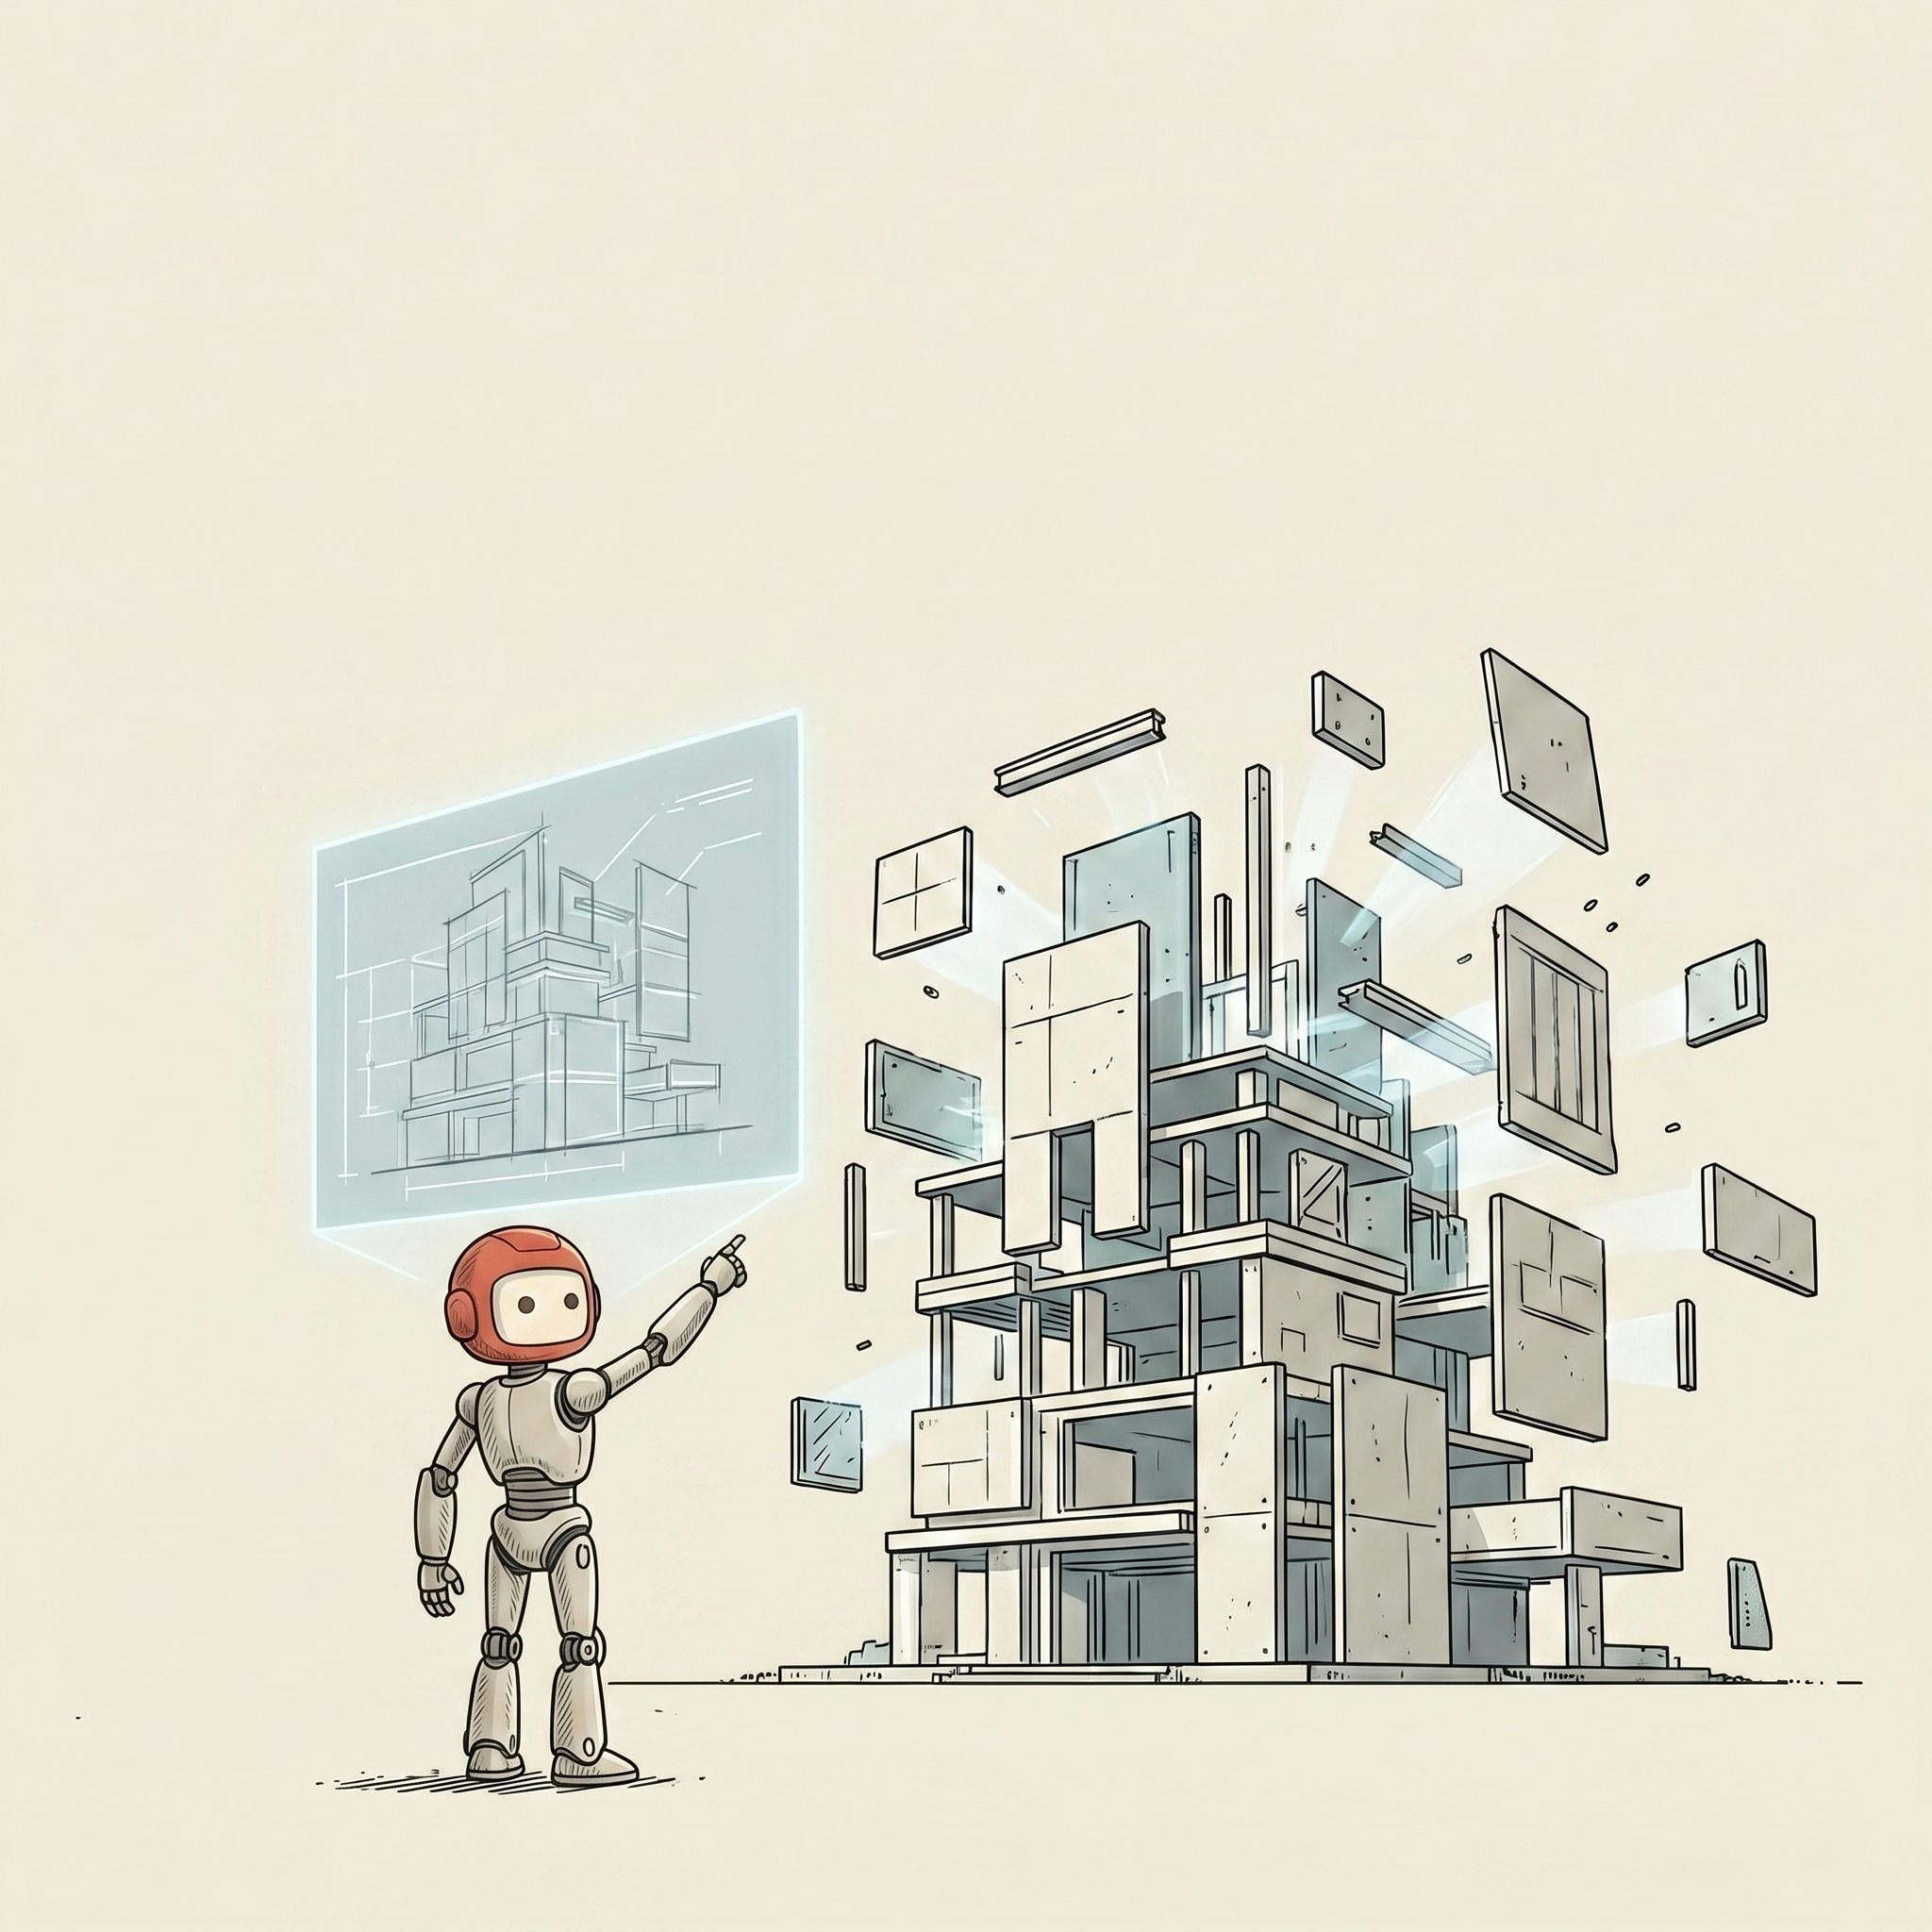
- Vibe Coding: directing the plan while AI lays the bricks.
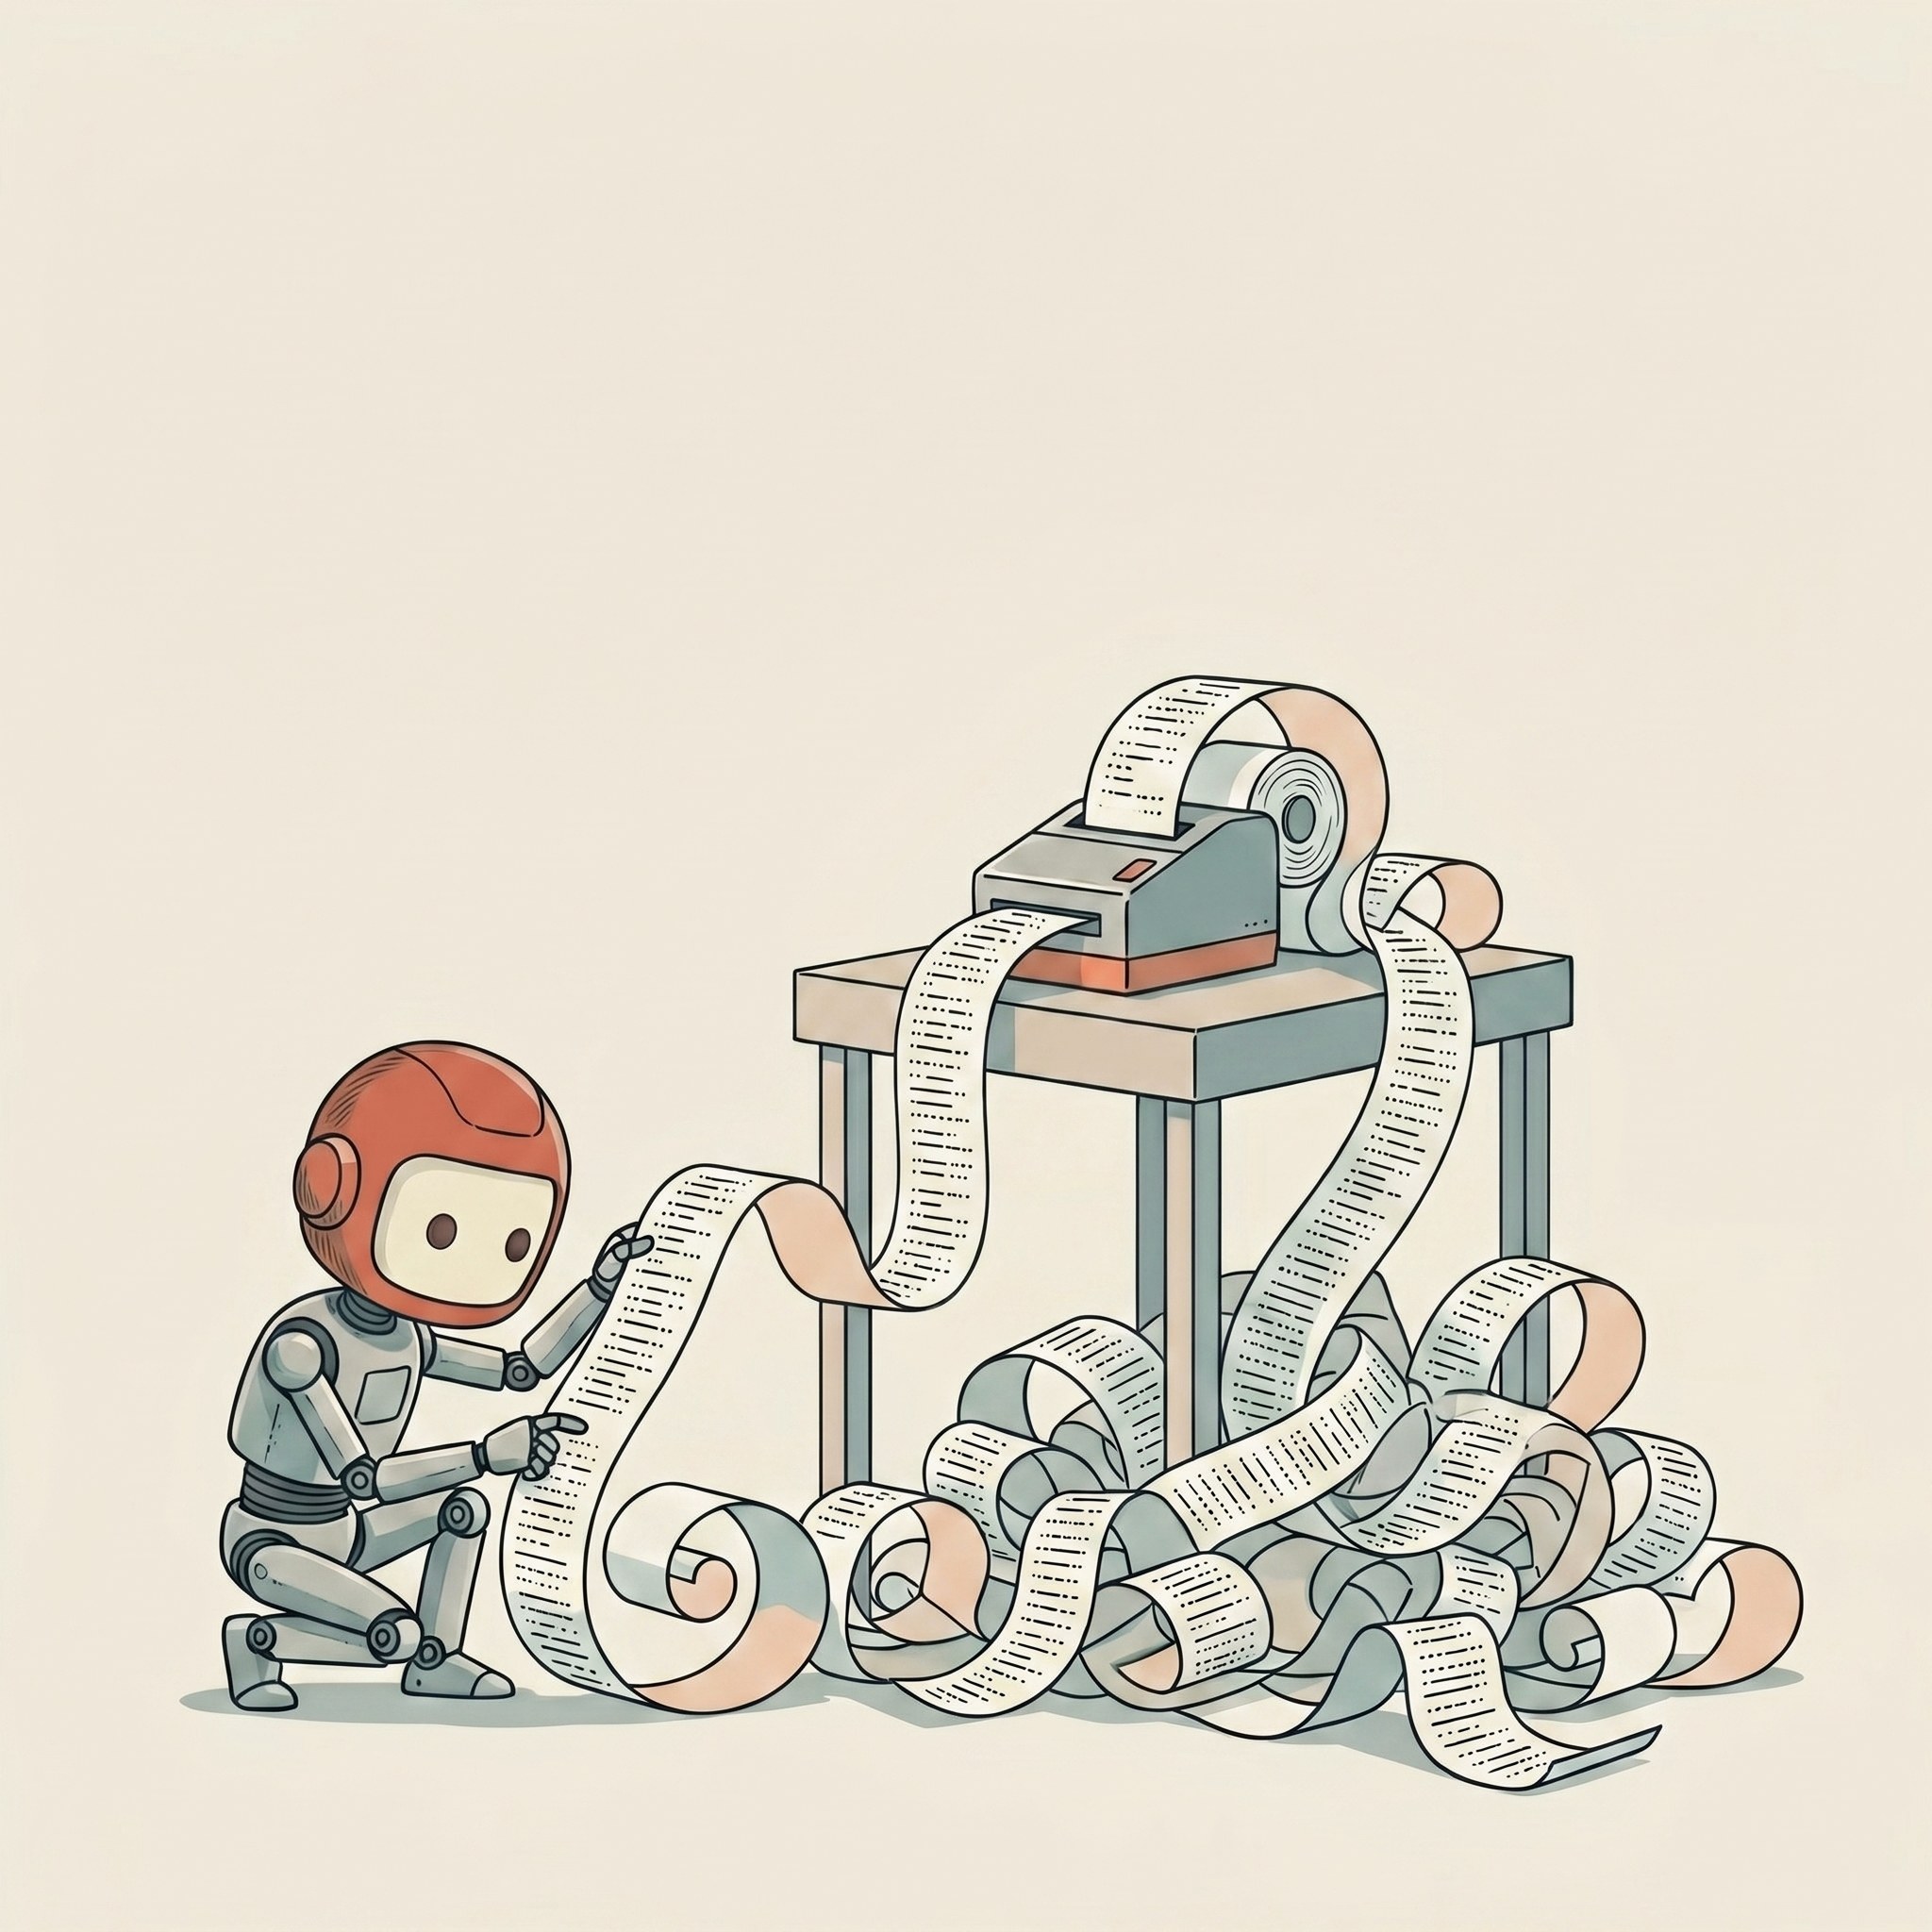
- Log: the receipt printer that records everything.
- Permission Scope: a valet key, not the master key.
That sounds like copywriting, but it is actually the image brief.
Once the metaphor exists, the prompt has a job. It does not need to invent the concept. It just needs to show the metaphor clearly.
This also keeps the series conceptually consistent.
The images are not just matching because they use the same cute robot. They match because they all do the same teaching move: take a technical concept and translate it into a physical scene.
No floating code. No glowing brain nonsense. No futuristic blue dashboards. No robot CEO standing in front of a hologram, because apparently AI image models have seen that one 900,000 times.
Every term had to become an everyday object.
Step 2: use one style anchor
The reference image did a lot of the work. A reference image is just a picture you hand the AI to copy from.
I used one image as the style anchor for the whole set: the same little round-headed robot, thin linework, muted palette, warm off-white background, simple editorial feel.
From there, the image model had a stable visual source to imitate.
The anchor matters because style words are mushy.
“Minimal editorial illustration” means one thing to me, another thing to a model, and a third thing to whatever the model saw most recently in its training data.
A picture is harder to misunderstand than a paragraph.
I did not want to describe the robot from scratch 100 times. I wanted to say: keep this little guy, keep this world, now put him in a new situation.
For this project, I used an image-edit model rather than pure text-to-image. Most AI image tools only take words. This one can also take a picture and copy its look, which turned out to be the secret engine of the whole thing. The model was google/nano-banana-2/edit, run through the WaveSpeed pipeline, the assembly line that runs each step for you.
It was also cheap enough that iteration did not feel precious: about 7 cents per image. Even with every re-roll and the character-fix pass later on, the whole set of 100 came in under thirty dollars.
If every image costs $2, you start protecting bad outputs because you already paid for them. If an image costs 7 cents, you can run the batch, find the weird ones, fix the prompt, and run it again.
Step 3: split style from content
This was the most useful prompt change.
I stopped writing each prompt as a standalone thing.
Instead, I used one fixed wrapper and dropped a different scene into it.
The wrapper looked like this:
Using the exact same minimal editorial illustration style,
thin clean linework, muted limited palette, and plain warm
off-white background as the reference image, reusing the
identical small round-headed robot character, on foot by
default, with NO car or vehicle unless the scene below
explicitly calls for one: [SCENE]. Lots of empty negative
space in the upper area. No text, no letters, no labels
anywhere in the image.
Then each term only supplied the scene.
For MCP:
the small round-headed robot standing at the center with one
universal socket on its chest, and a neat row of identical plugs
connecting it out to several different little machines and boxes
around it, one standard connector, many devices, all snapping
into the same port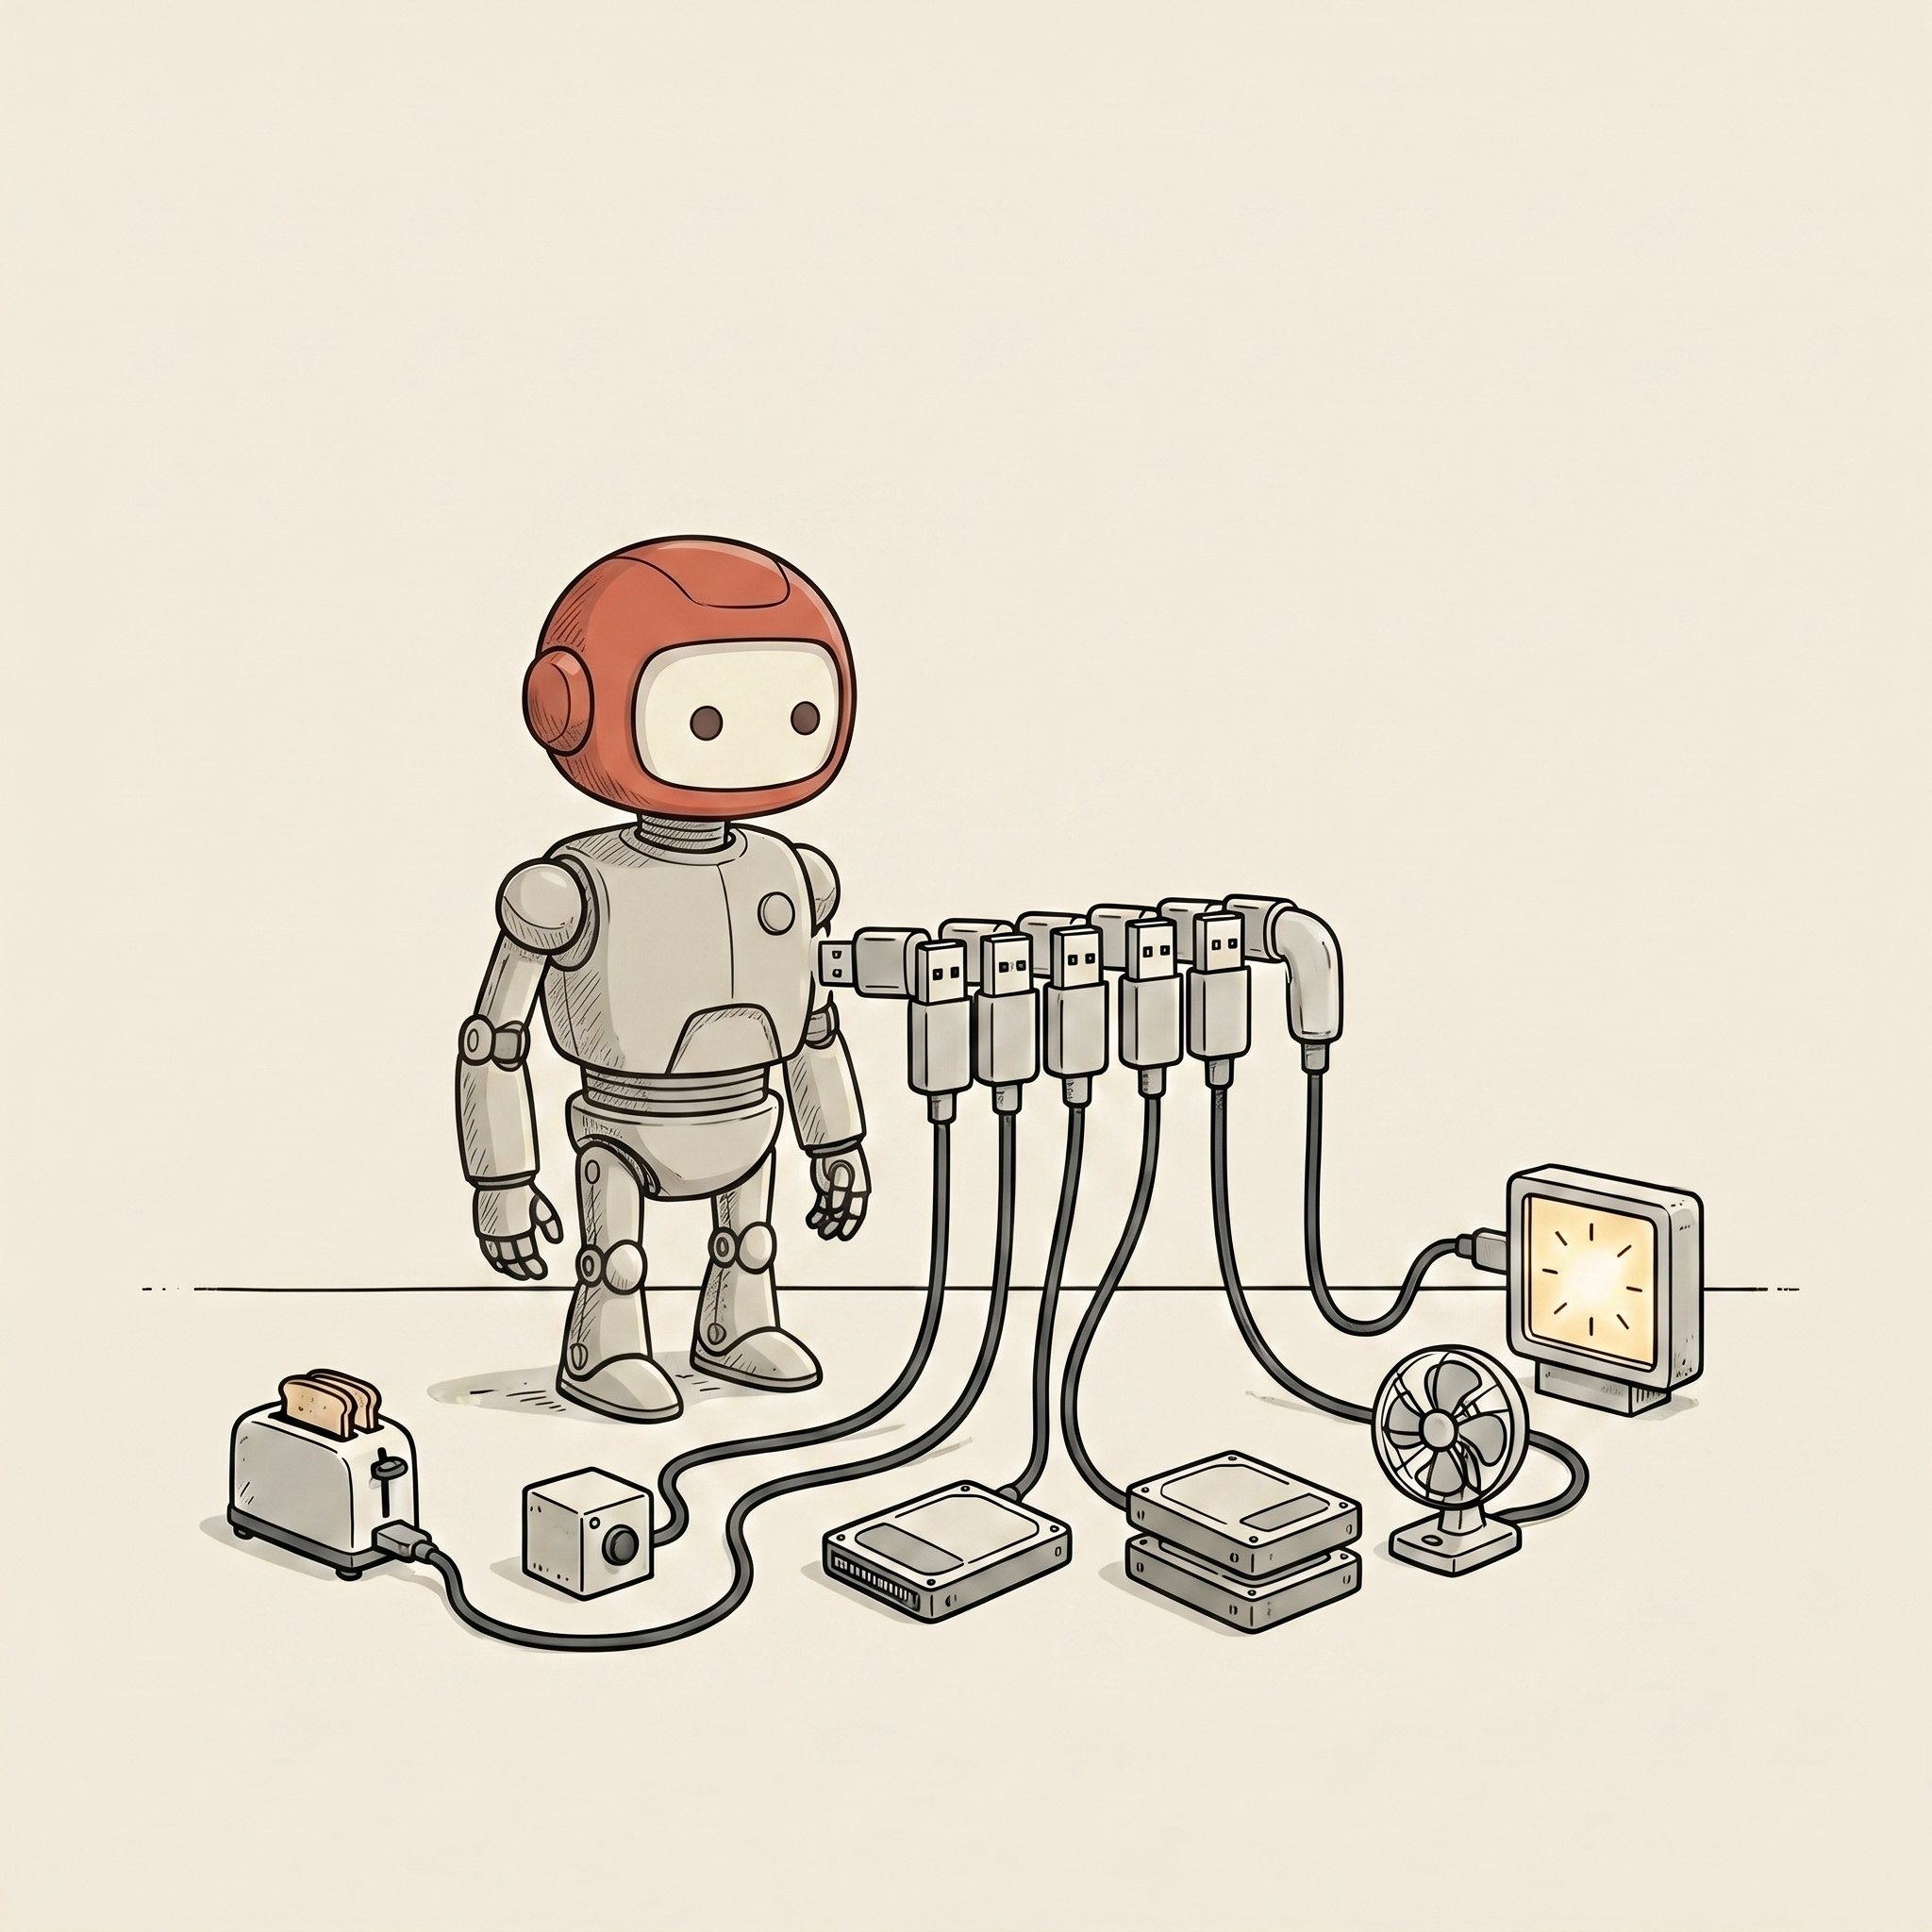
For Computer Use:
the small round-headed robot holding a large pointer-arrow like
a hand, studying a snapshot photo of a computer screen pinned
in front of it, then reaching out to press one of the on-screen
buttons directly, looking, deciding, clicking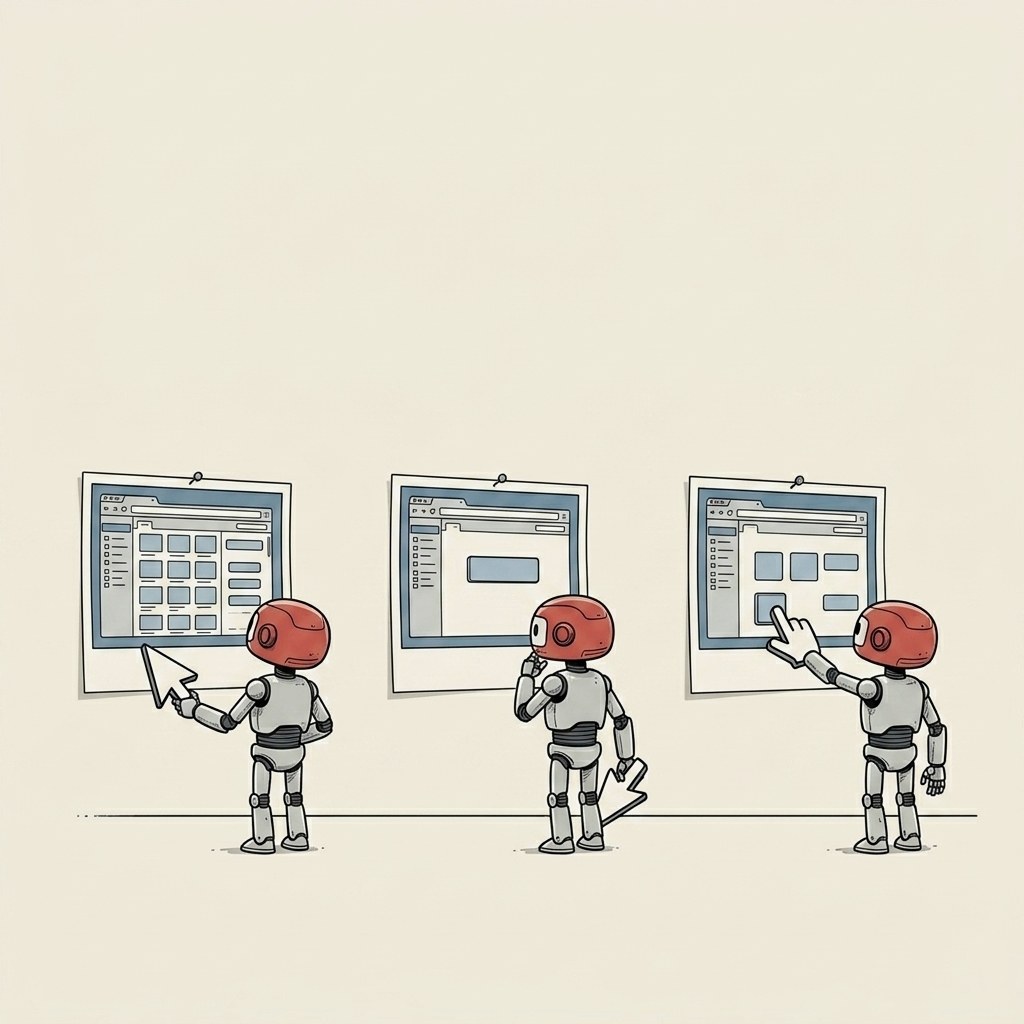
This made the whole thing much easier to manage.
The wrapper handled style, constraints, character, negative space, and the “please do not write fake words in the image” rule.
The scene handled meaning.
When something went wrong, I knew where to fix it.
If the image style drifted, fix the wrapper.
If the concept was unclear, fix the scene.
If the output had text baked into it, strengthen the no-text rule.
If the robot was driving a car again, well, see the next section.
Step 4: audit your defaults
This is the part that bit me.
The first style anchor had the robot in a little car.
Cute. on-brand for the API drive-thru metaphor.
Unfortunately, that meant the model decided the car was part of the character, not part of the scene.
So the robot kept showing up in his little car everywhere.
Even where there should not be a car. He would be parked in the middle of a scene that was supposed to be him standing at a filing cabinet.
A default in the shared wrapper quietly propagated across a big chunk of the set before I caught it. Something like half the images had a car in them where they should not.
If you are making one image, a small default is a small default.
If you are making a series, a small default becomes a production rule.
The fix was boring: I updated the wrapper to say the robot was on foot by default, with no car or vehicle unless the scene explicitly called for one.
That one line fixed the cars.
The revised wrapper said:
reusing the identical small round-headed robot character,
on foot by default, with NO car or vehicle unless the scene
below explicitly calls for one
After that, the images started behaving.
Audit the defaults before you scale the run.
Step 5: generate text-free, compose locally
I do not ask image models to do final layout.
They are still too weird with text. They invent letters. They misspell simple words. They make signs where no sign should exist. They decide a diagram needs a beautiful nonsense label.
So the image prompt explicitly said:
No text, no letters, no labels anywhere in the image.Then the final cards were composed locally.
The raw image stayed clean.
The title, subtitle, day number, social crop, and web version came from a manifest and a local renderer. A manifest is just a simple list, a spreadsheet with one row per card. A renderer is a small program that draws the finished card from that row.
That gave me a repeatable layout:
- one raw illustration
- one title
- one plain-English subtitle
- one web crop
- one square social card
- one story crop
This is the part that makes the project feel like a content system instead of a pile of assets.
If I add a new term tomorrow, I do not open Canva and line things up by hand for the 101st time.
I add a row.
The system renders the card.
Here is what comes out the other side. The same illustration, now with its title, its one-line plain-English version, and the footer, all composed locally. The words do as much teaching as the pictures.
The part the five steps missed
I thought the system was working. The style matched. The cars were gone. I shipped a big chunk of the set feeling good about myself.
Then I went back and actually looked at the robot. Frame by frame.
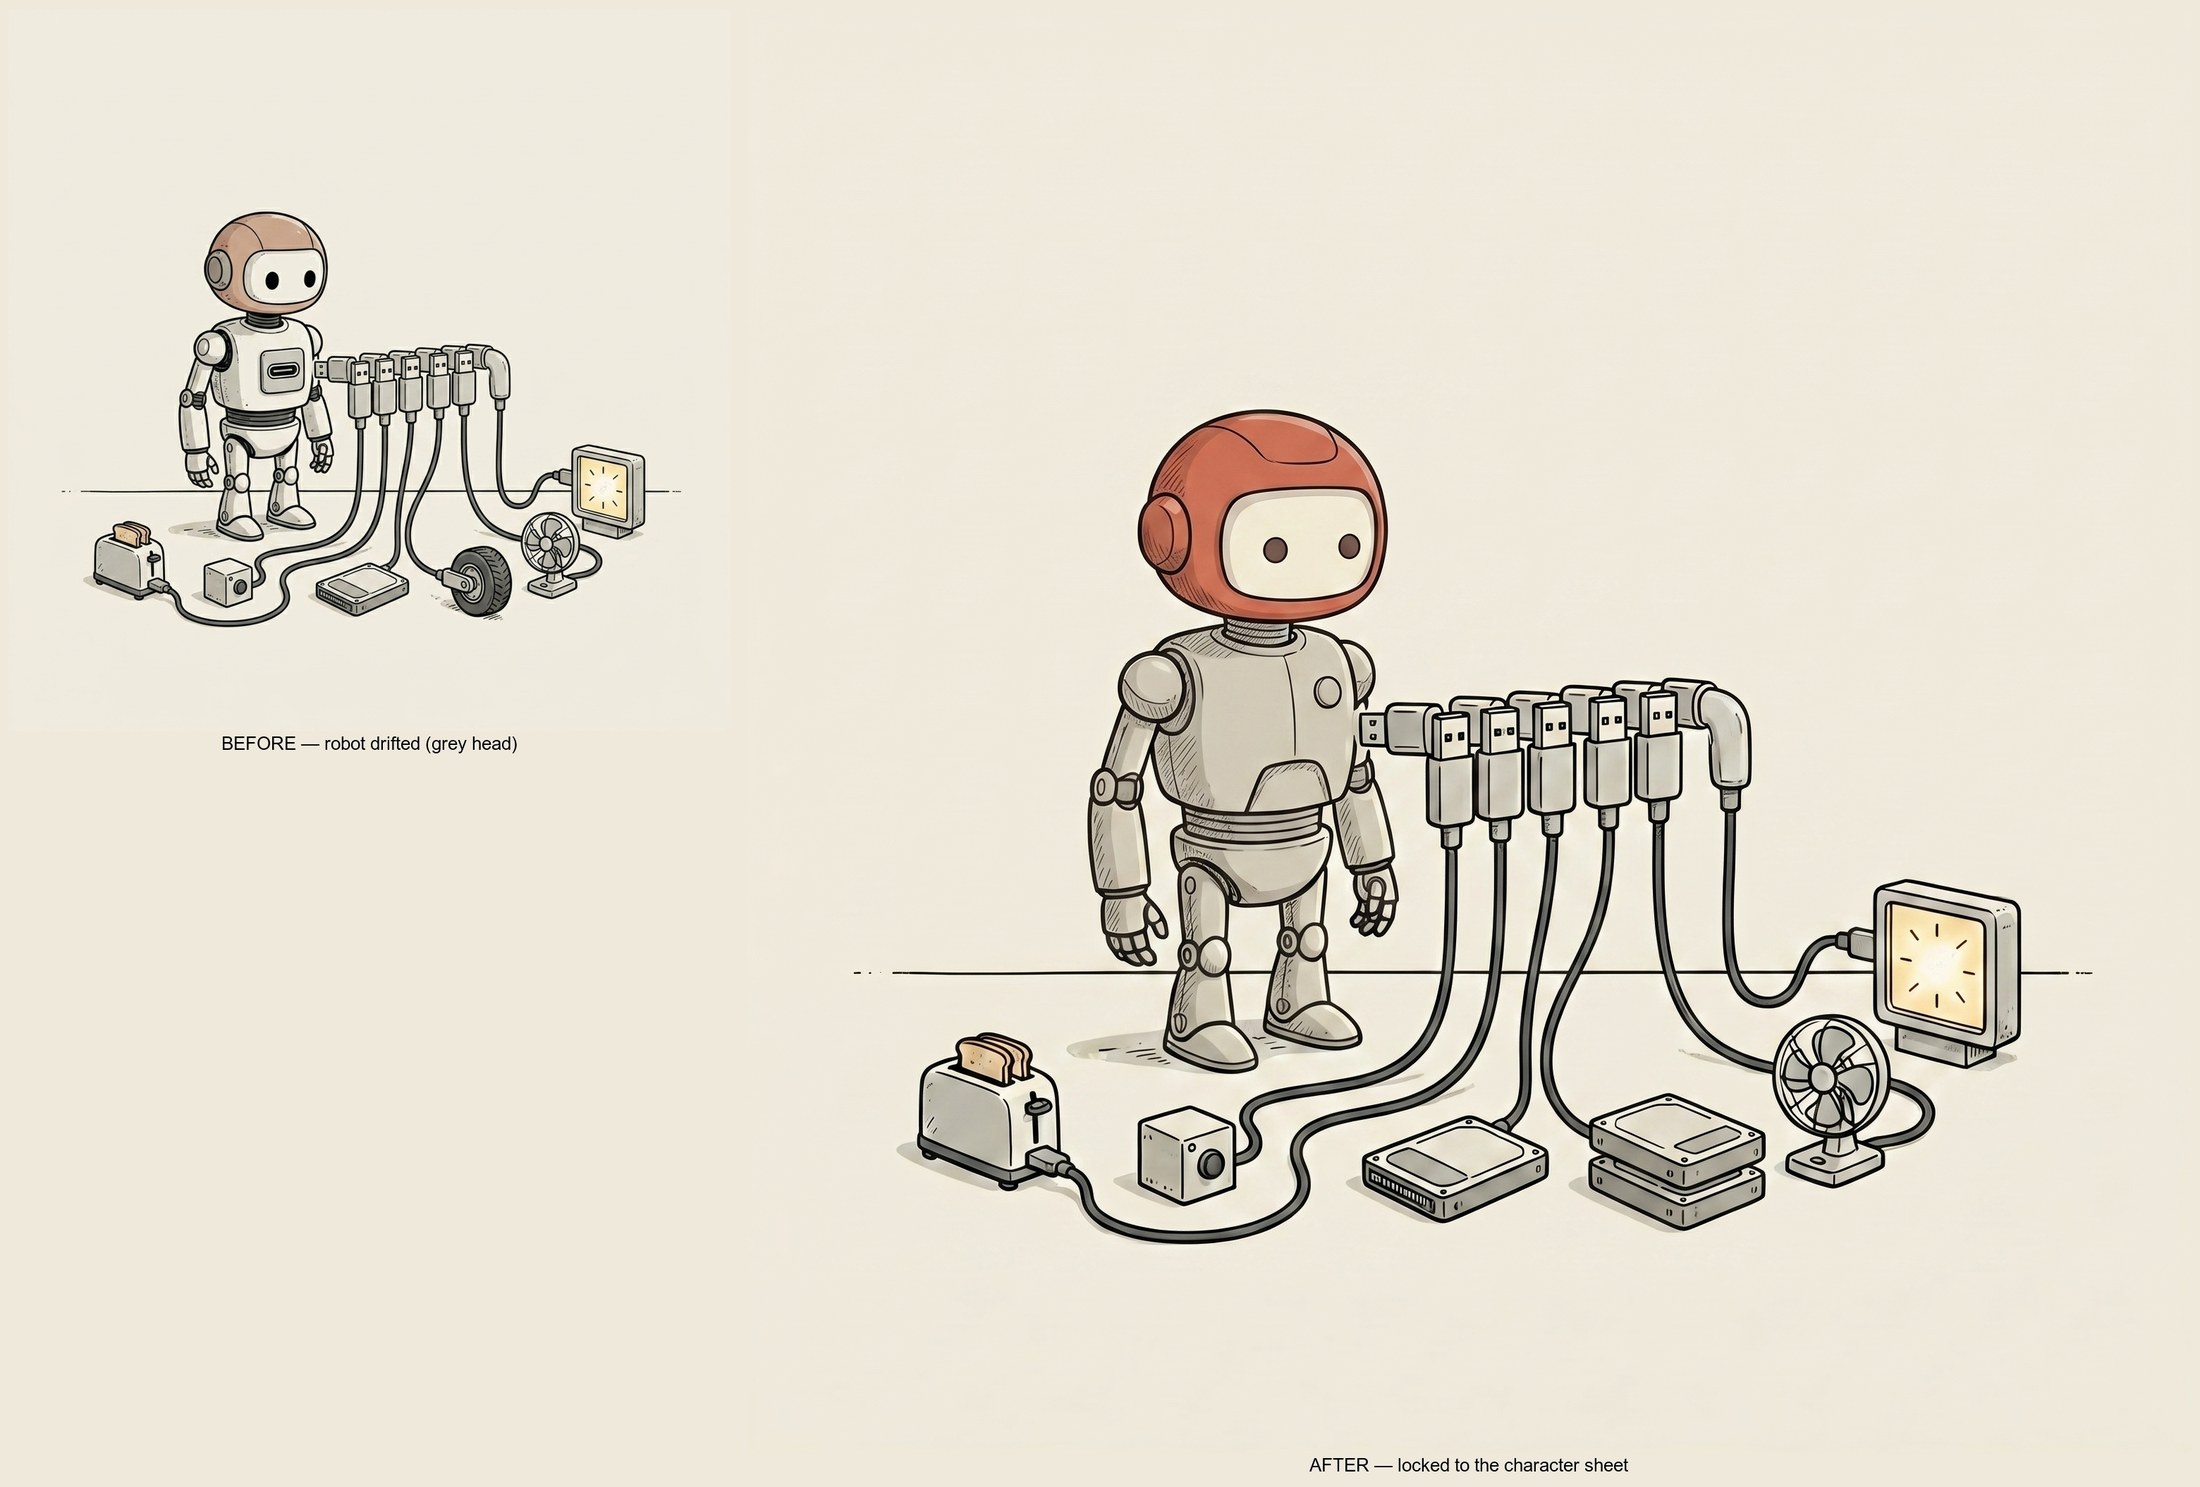
He was not the same robot.
Red-orange helmet in some. Plain grey head in others. One version looked like a children’s toy, the next like a realistic film prop, and in a handful he had ballooned into something less like a robot and more like a small kitchen appliance that had wandered into the wrong scene. Same job title, entirely different guy. The world was consistent: same linework, same palette, same warm paper. The character was not.
When I counted that first batch, my little guy had drifted in roughly 38 of the 52 frames he appeared in. Nearly three-quarters. I had built a beautifully consistent world around a mascot who would not hold still long enough to keep one face.
Here is why it happened.
My style anchor was a scene. The robot was small in it, half-tucked behind his little car. So the model got a strong signal about the style and a weak signal about the character. And “reusing the identical small round-headed robot” is a sentence, not a spec. The model filled in the blanks differently every time, and every blank it filled was a small drift.
The fix was a character sheet.
Not a scene. A clean, plain-background turnaround of the character by himself: front, three-quarter, side. The way an animation studio draws a model sheet before a single frame of the film gets made.
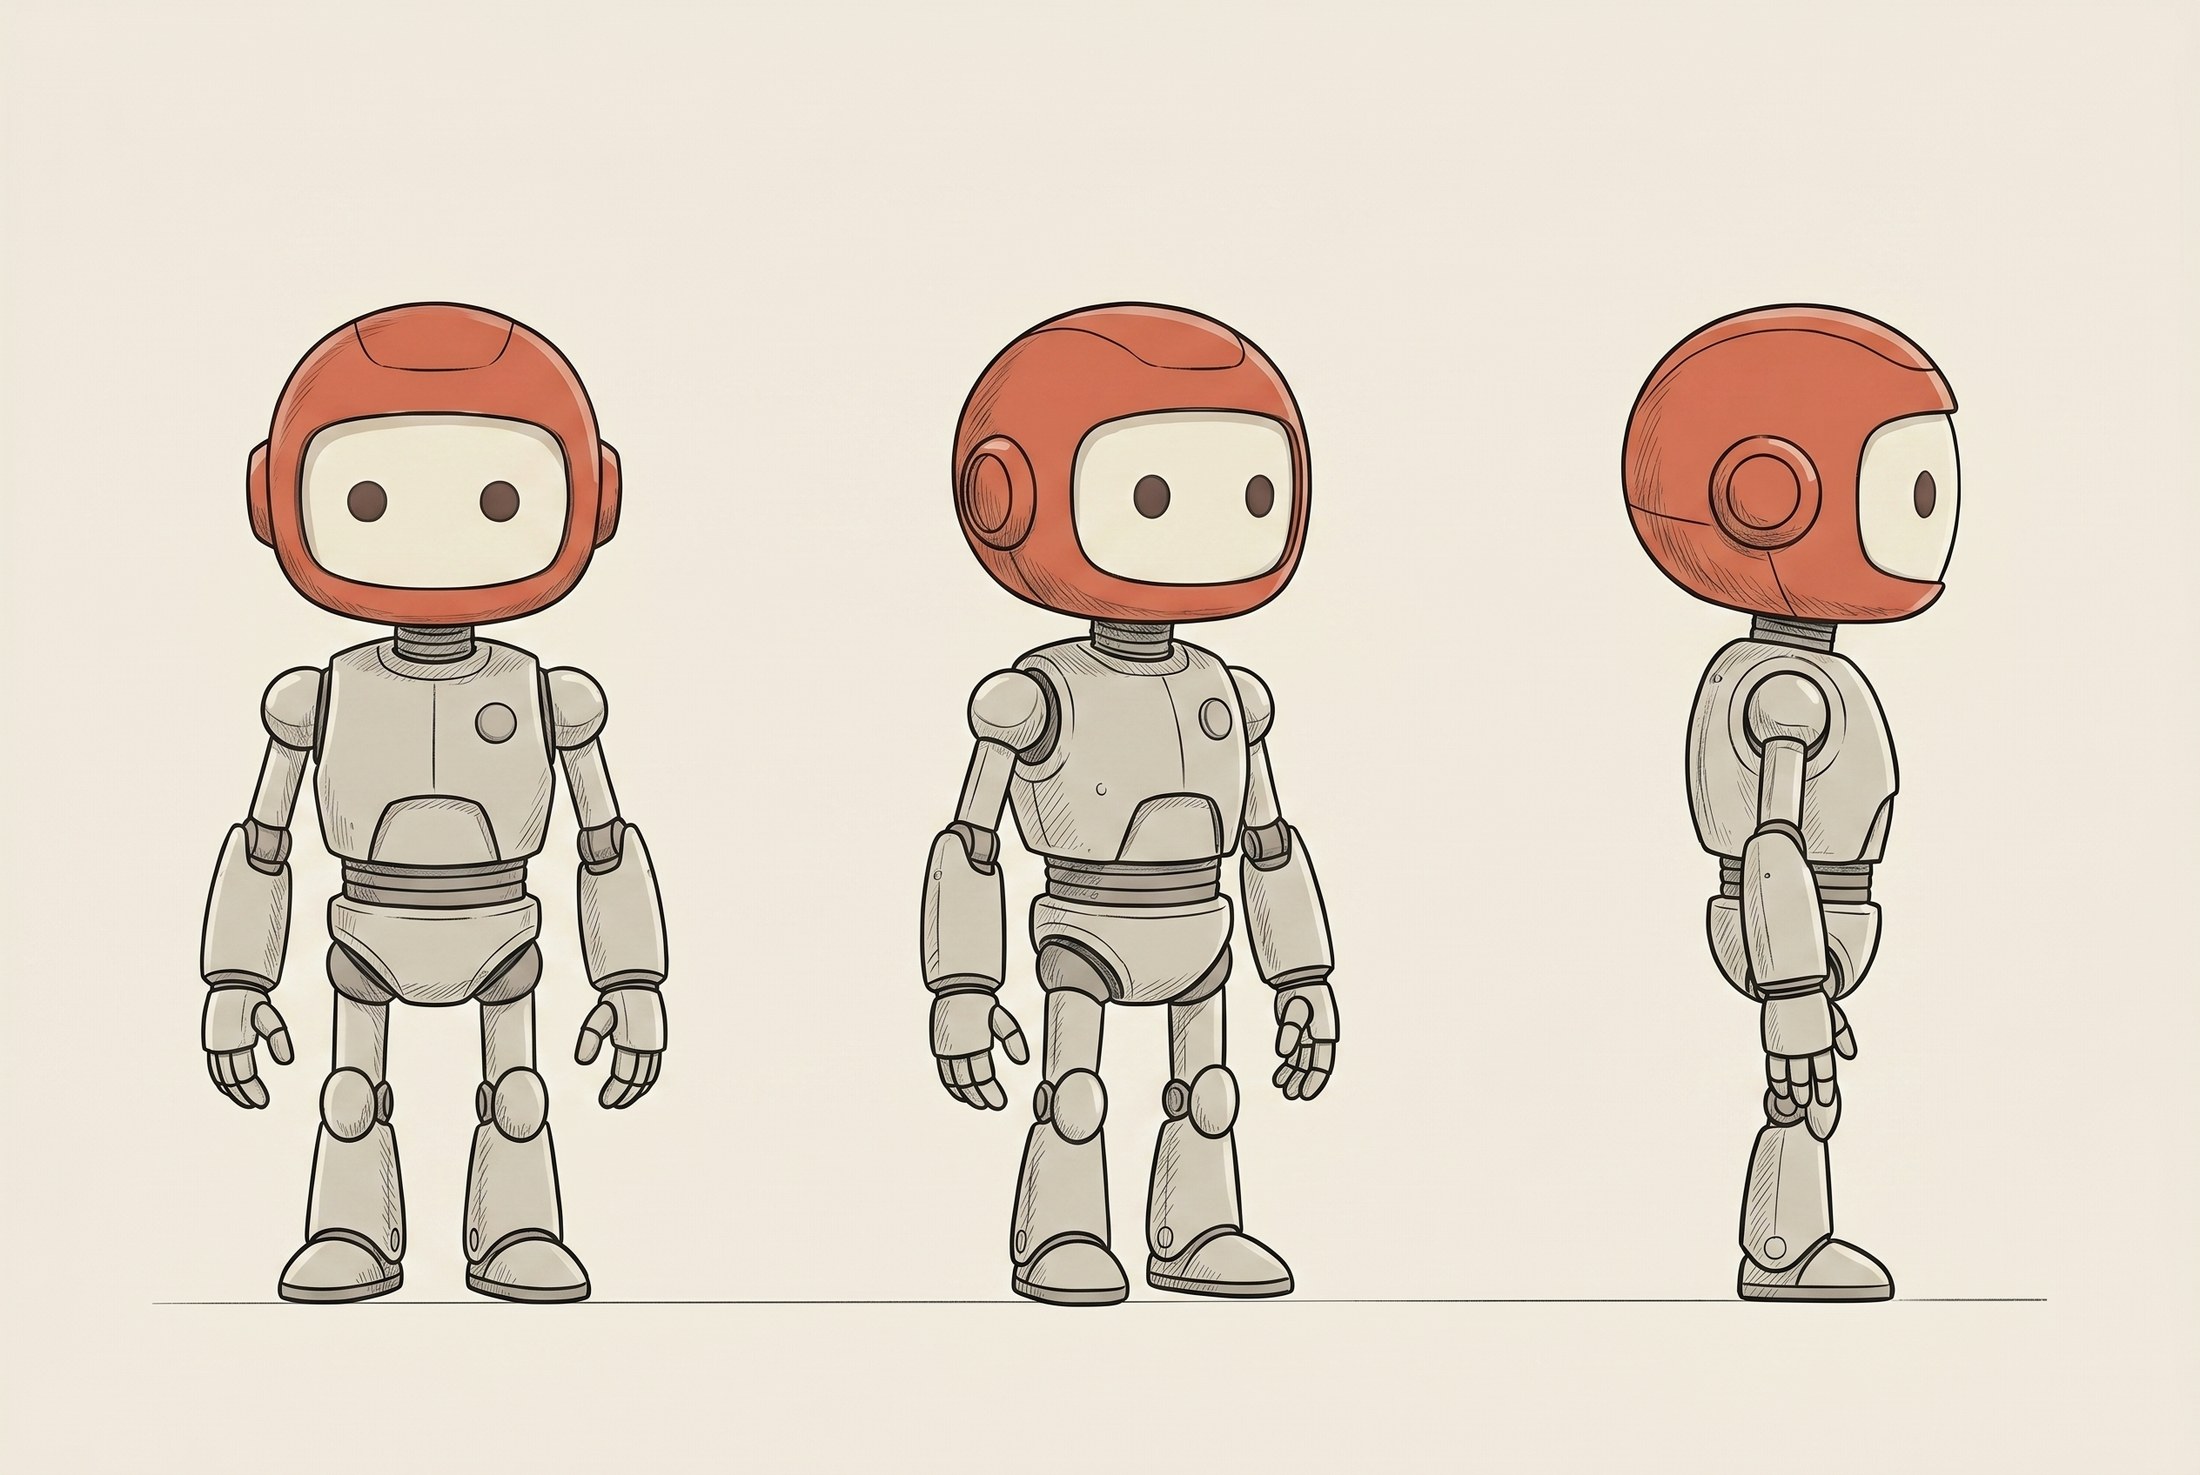
This one image became the source of truth. Every generation now gets the character sheet as its reference instead of a busy scene. The model can take more than one reference picture at once. Up to 14, it turns out, though I only ever needed two. You hand it the character and the scene separately, and it keeps both.
I also stopped being vague in the words. Instead of “the same robot,” the wrapper now pins the exact features: matte red-orange domed helmet, pale cream face-plate with two dark dot eyes, pale grey segmented body, thin ink linework. The picture and the text now say the same thing, so they reinforce each other instead of leaving gaps.
Then the part that saved me from re-rolling the whole set: I did not regenerate every scene from scratch.
For most of the drifted frames the composition was fine. The robot was just wrong. So instead of starting over, I ran a fix pass: hand the model the existing frame and the character sheet, and tell it to keep the scene exactly and only swap the character to match. Same layout, same metaphor, correct robot. It even erased the leftover cars while it was at it.
The lesson I will keep:
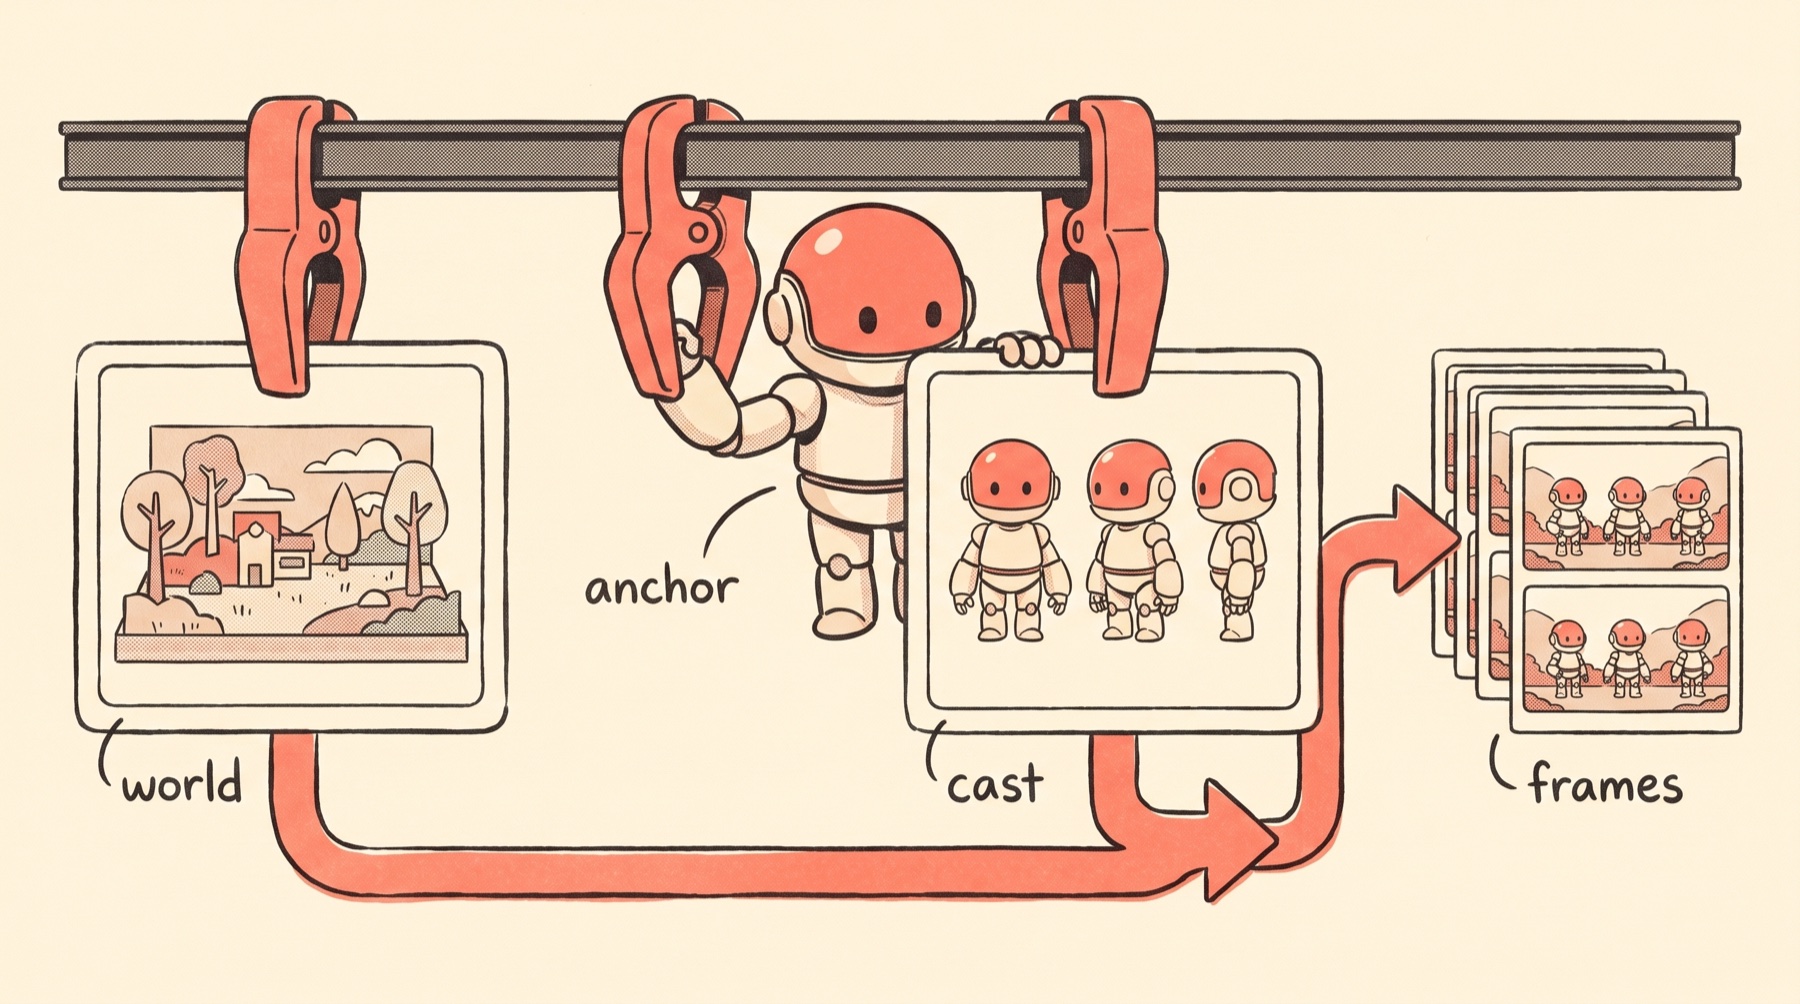
A style anchor locks the world. A character sheet locks the cast.
If your series has a recurring character, a mascot, a person, a product, a robot, the style reference alone will not hold it. You need a dedicated, boring, plain-background reference of that character, and you need the text to name its features instead of gesturing at them. Otherwise you get exactly what I got: a beautiful, consistent world with a lead actor who quietly changes faces between scenes.
One more invisible thing: the background
Here is a subtle one that almost shipped broken.
Every illustration sits on the website inside a card with a specific background colour. The originals happened to land on that exact warm cream, so they melted into the page. The regenerated images came out about five shades lighter. Not enough to notice on its own, but enough to sit on the page like a sticker that did not match.
The fix did not need another AI pass. It needed ImageMagick, the old reliable free command-line tool. (If “command-line” makes you want to close the tab, you do not have to run any of this yourself to get the point.) One command samples the paper colour in the corner of each image and nudges it to the exact cream the site expects. It only touches the bright background, so the linework and the robot stay untouched. Then I baked that step into the pipeline, so every future image gets corrected automatically.
Consistency is not just the art. It is the art plus all the boring production details around it, right down to the exact colour of the paper it sits on.
What made the images match
You can see the whole set live at nontechnical.dev: one robot, one world, a different lesson on every card. That is the thing I was chasing the entire time.
I planned for five steps and finished with more. The metaphor made them match conceptually. The style anchor locked the world. The character sheet locked the cast. The fixed wrapper held the constraints. The local renderer matched the cards. The background pass matched the paper.
Miss any one and it shows. Same style, different lessons. Same wrapper, random concepts. Same template, mismatched art underneath.
Consistency is not one thing. It is layers:
term list
→ plain-English analogy
→ visual scene
→ fixed prompt wrapper
→ style reference image
→ character sheet (the recurring cast)
→ batch generation
→ QA pass for drift, text, and character
→ local card renderer
→ website and social assets
Not magic. Just constraints stacked in the right order.
The useful part
The best AI workflows I have built all have the same shape. Separate the stable part from the changing part. Save the stable part. Feed the changing part from a manifest. Run the batch cheaply enough to review honestly. Keep a human QA pass where taste still matters.
That is true for images. It is also true for agents, and for anything else you run more than once.
This little dictionary started as a sidequest. It ended up teaching me a better way to think about repeatable creative systems.
One image is a prompt.
A series is a pipeline.
If you want to see the finished set, it is here: nontechnical.dev.
This is the kind of thing I keep finding myself building now. Not a big polished product plan. More like: get annoyed by a tiny problem, make a weird little system for it, then realize the system is the useful part.
That is what I am sharing more of on the Little Might newsletter: the experiments while they are still fresh, the tools I used, the mistakes I made, and the bits I would actually reuse.
If you want the next one, drop your email here. I will send the useful parts when they are worth sharing.
Appendix
The checklists and tools, if you want them.
The recipe, in one place
Here is the whole loop, start to finish:
./wavespeed-pp-cli run \
 --model-id "google/nano-banana-2/edit" \
 --prompt "$PROMPT" \
 --images "$REF" \
 --set aspect_ratio=1:1 \
 --wait \
 --download "$OUT/Day_XX_Term_{index}.{ext}" \
 --agent
The exact command matters less than the shape:
- same model
- same style anchor and character sheet
- same wrapper
- different scene per term
- predictable output filename
- a normalize-and-crop pass at the end
- batch review before anything ships
The QA checklist I would use next time
If I were doing this again, I would check the first five images against this list before running the full batch:
- Does the character match the character sheet, same head, same body, not just the same style?
- Does the scene explain the term without needing the caption?
- Did the model add any text, letters, logos, or fake labels?
- Did a reference-image object accidentally become a permanent default?
- Is the background clean enough for text to sit above or around it?
- Does the background match the exact colour of wherever the image will live, so it melds instead of sitting in a lighter box?
- Are the images too similar to each other conceptually?
- Does each image still work when cropped for the web card?
- Does the filename match the manifest exactly?
That last one sounds boring because it is.
Boring is good.
A content pipeline dies when every asset needs a little manual exception.
When to use this
This framework is overkill for one hero image.
It is perfect when you need a series:
- glossary images
- course module cards
- newsletter series art
- onboarding illustrations
- product education cards
- social prompts that need the same visual world
- internal SOP graphics
The key question is: will I need the 12th image to look like the 1st?
If yes, build the system before you generate the batch.
Otherwise you end up doing what everyone does with AI images: making 20 almost-right things, picking the least weird one, and pretending that counts as a visual identity.
The tools, if you want to build your own
Everything I mentioned, gathered in one place:
- WaveSpeed: the pipeline I ran the image model through. Cheap enough to batch honestly, roughly 7 cents an image on the simple runs.
- Nano Banana 2 (
google/nano-banana-2/edit): the image-edit model. It conditions on reference images instead of working from text alone, which is the whole reason character lock is even possible. - ImageMagick: the free command-line tool (the
magickcommand) I used to normalise the backgrounds and crop and resize every card. Old, unglamorous, does exactly what you tell it. This is what meant I never opened Photoshop. - A local card renderer: a small Python script that reads the manifest and draws every finished card, the title, the subtitle, the day number, the web crop, the social crop. No API, runs on my machine. This is the part that replaced laying out 100 cards by hand.
- Wispr Flow: the voice dictation tool I talked every term explanation into, and what I use to get context across to the AI faster than typing. I am past 2.2 million words spoken in it.
- Midjourney: where my messy first attempt started, before I moved to an edit-model pipeline.
- The finished dictionary: all 100 terms, live, so you can see the set holding together.
- The short version on X: the thread that kicked this off.
One thing decides whether this transfers: the character-sheet trick only works with edit-conditioning models like Nano Banana 2, the ones that take a picture as an input, not just words. Text-only tools like Midjourney or DALL-E can copy a vibe but cannot lock a character to a reference sheet. The metaphor, the wrapper, and the local-render steps transfer to any tool. The character lock does not.
The character sheet, the wrapper, and the manifest are specific to my project, but the shape transfers to anything with a recurring look.

Written by
Cathryn Lavery
Cathryn went from designing buildings to architecting products. She founded BestSelf, bought it back from private equity in 2024, and rebuilt it AI-native. She's currently building something new in AI. Little Might is where she doesn't have to keep it all in her head.
Related reading
-
Jun 22, 2026
Your first AI loop should be for yourself (template included)
-
Jun 10, 2026
How to set up multiple Macs for always-on AI agents
-
Apr 4, 2026
AI Automation Examples: 9 Specific Business Cases (With Real Numbers)
-
Mar 16, 2026
How I built my wife a personal AI assistant on OpenClaw (and what actually took time)
-
Mar 10, 2026
Everything You Need Before Your AI Employee Starts